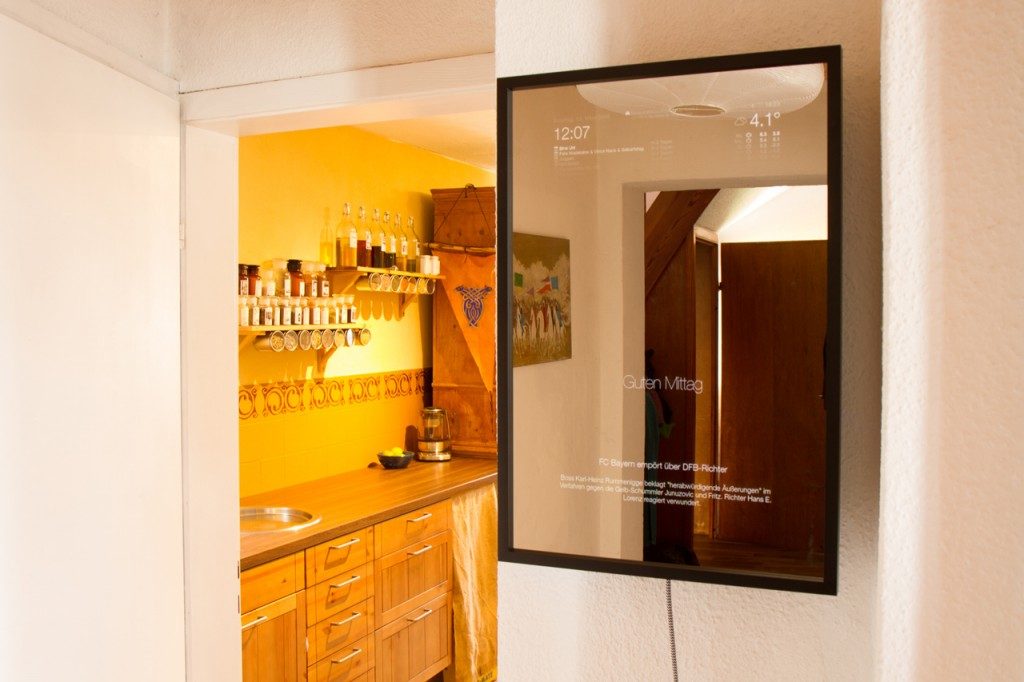
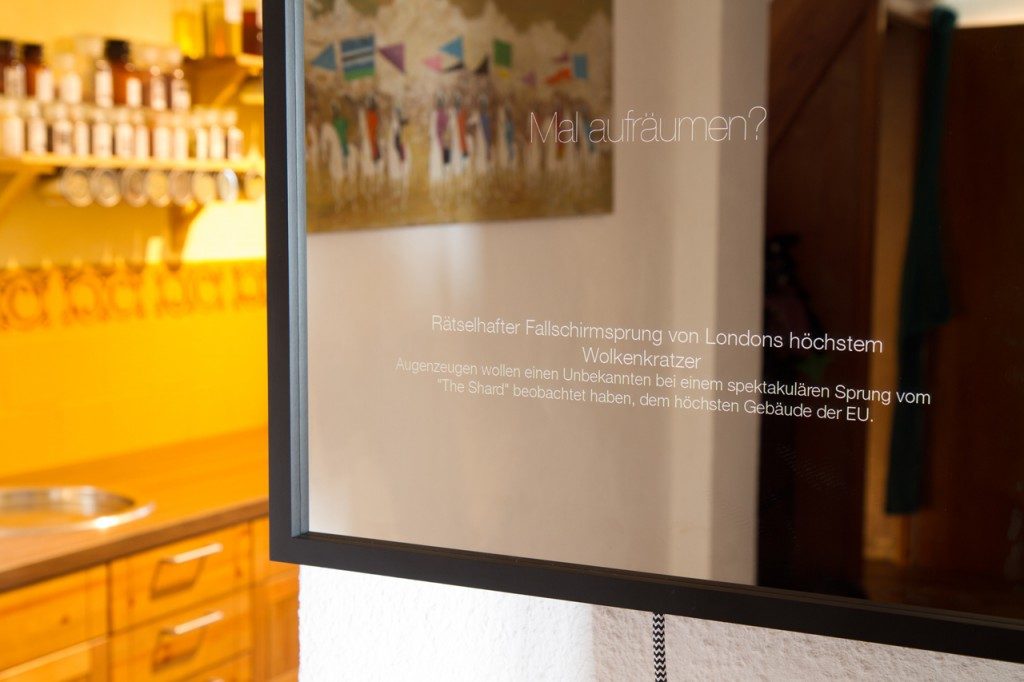
Almost a year ago the Dutchman Mirchael Teeuw presented a self-built Smart Mirror in his blog (article Mirror I / VI). Our hallway needed a mirror anyway. Time for a new project.
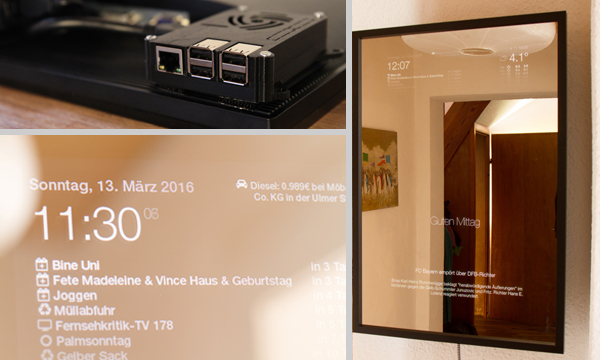
This isn’t a step-by-step guide to rebuilding. I just want to present you my project result.
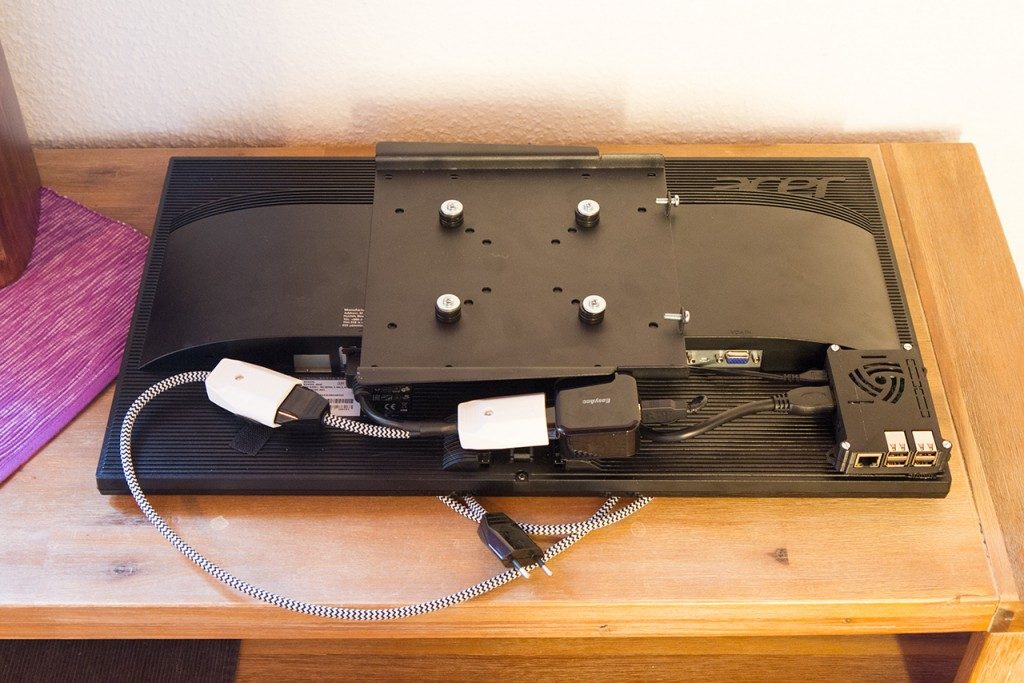
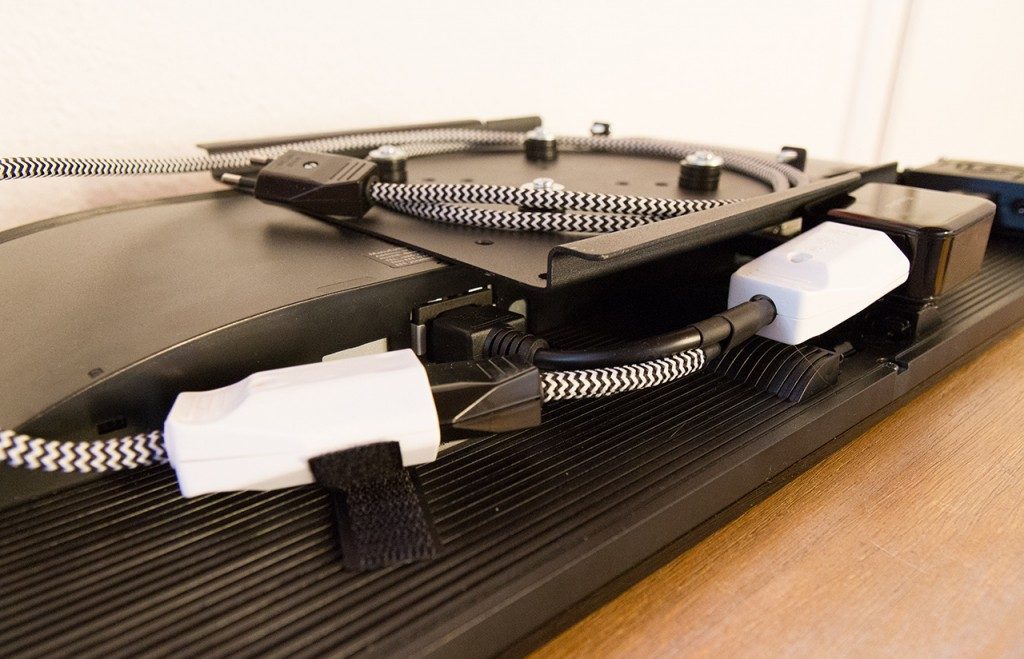
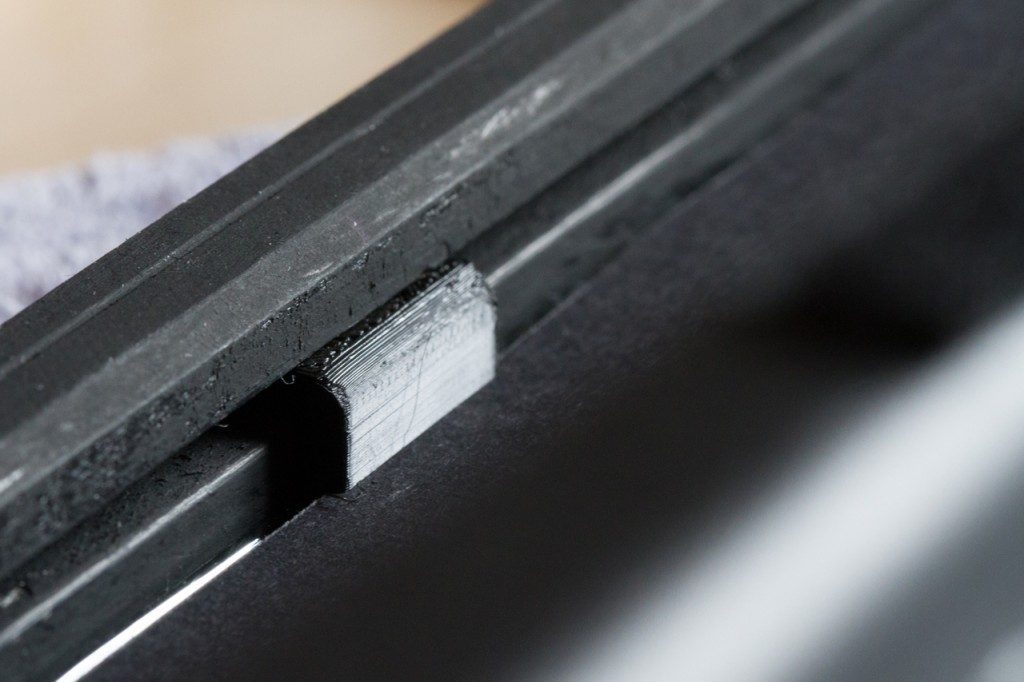
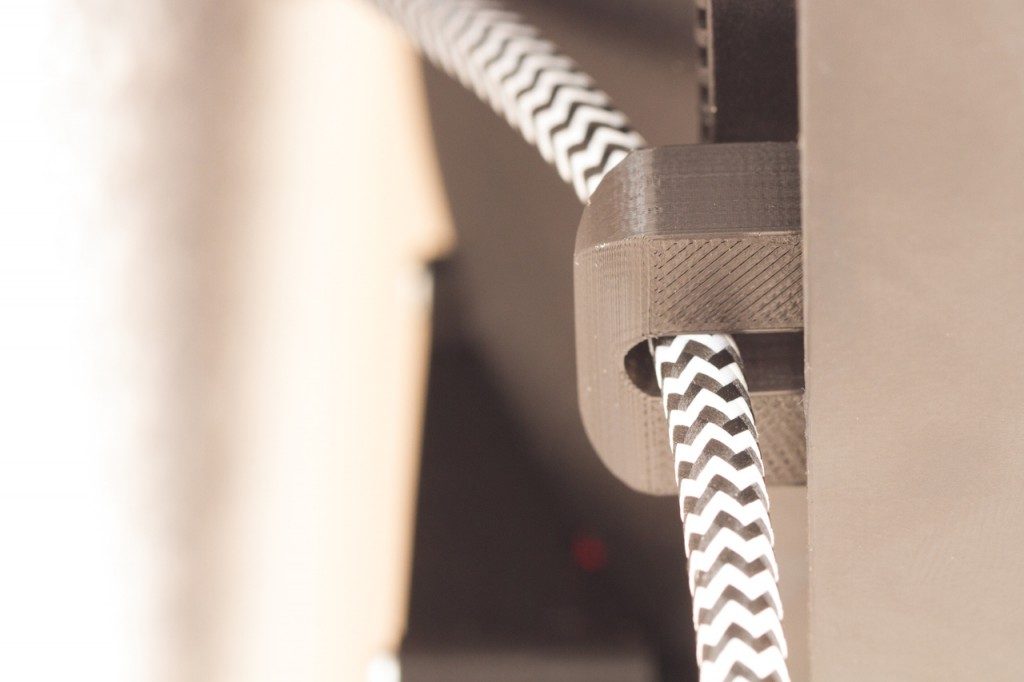
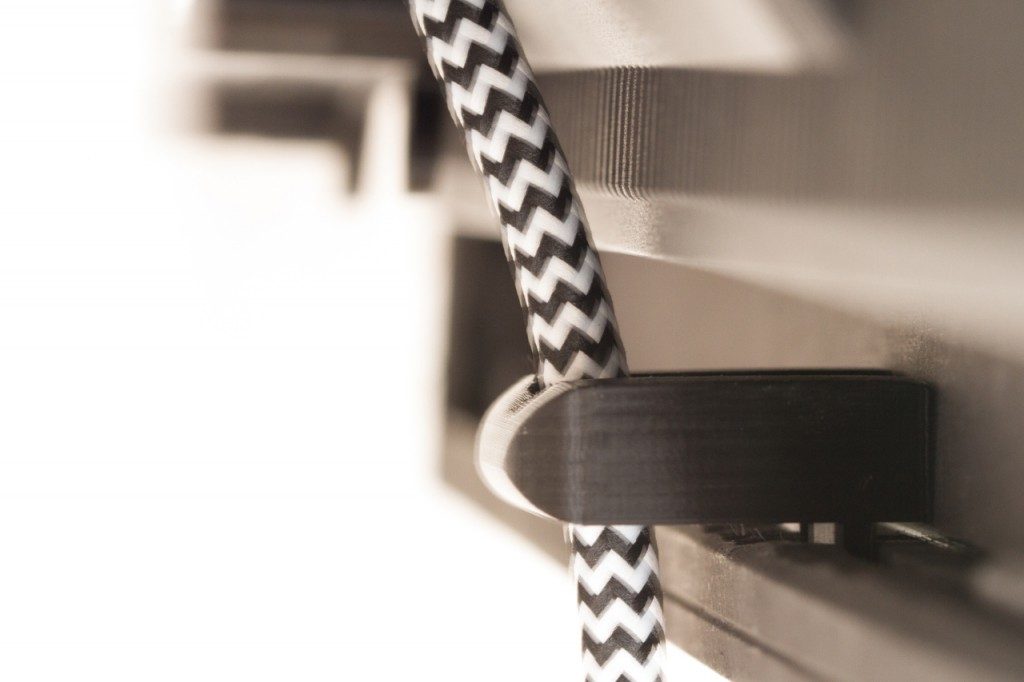
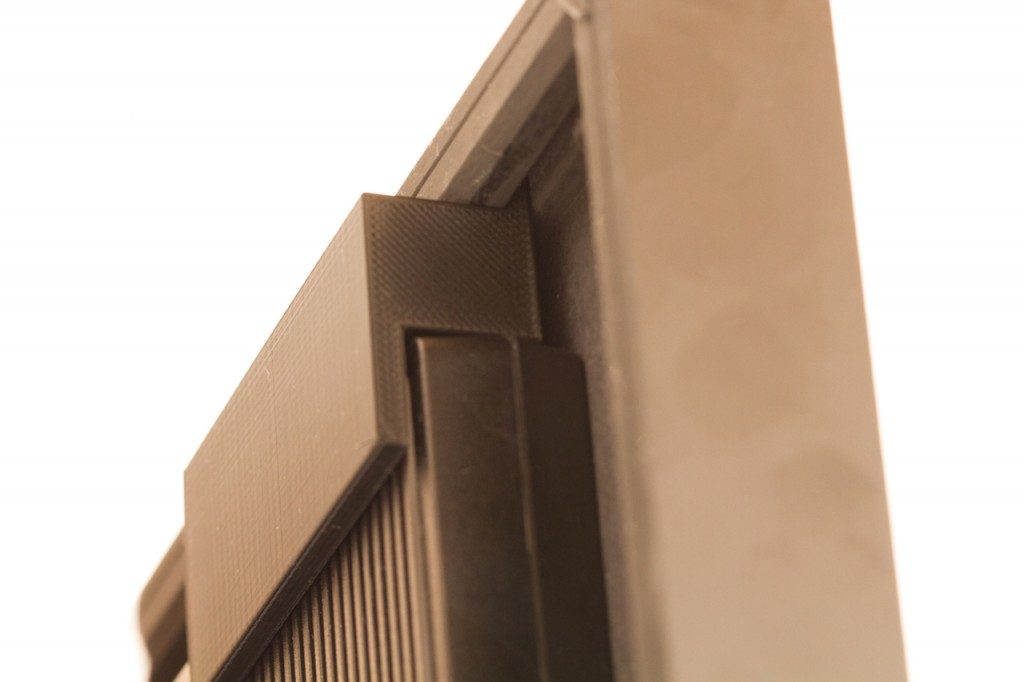
In contrast to many other projects, I didn’t want to install the monitor in a housing to hang it on the wall, but first and foremost fix the monitor including the parts behind it over a Vesa wall mount and put the frame over the monitor over self-printed holders from the 3D printer. Thus the front can be changed arbitrarily and the complete weight does not have to be carried by the frame.
I also didn’t want to disassemble the monitor to use it as a regular PC monitor in case the project didn’t show the desired result.
All other parts are also kept as modular as possible and connected to each other via plug connections. A different coloured supply line or a charging plug with more ports? No problem: Plug&Play!
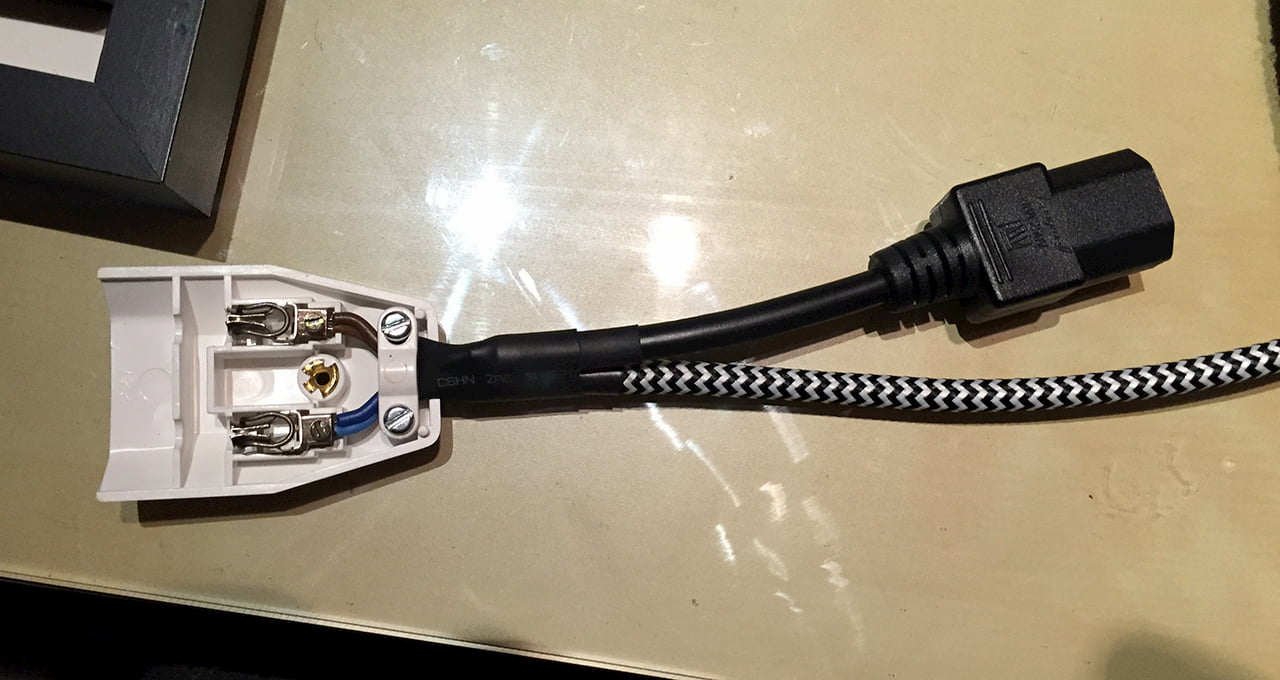
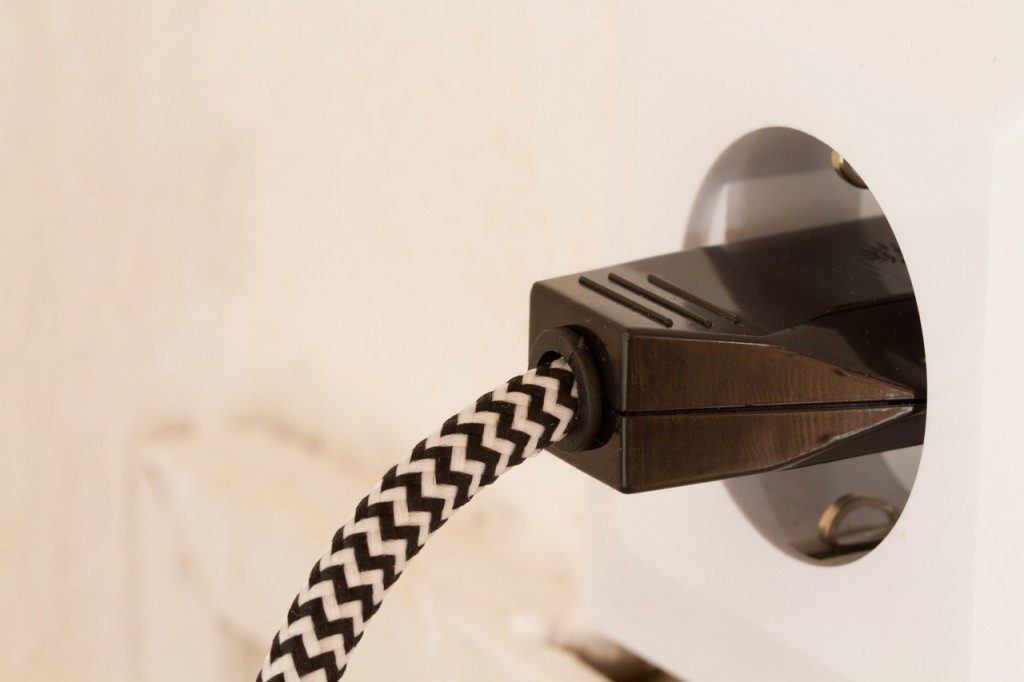
I had real “handicraft work” only with the self-assembly of the wiring. The monitor and the USB charger for the Raspberry share the same power cable. So only one cable has to be connected to the mirror.
The most difficult part was obtaining a suitable monitor with the following specifications:
- VESA wall bracket for wall mounting
- >= 24″
- The upper and lower edges of the monitor frame should be as equally wide as possible.
- No buttons protruding over the edge
- Removable stand
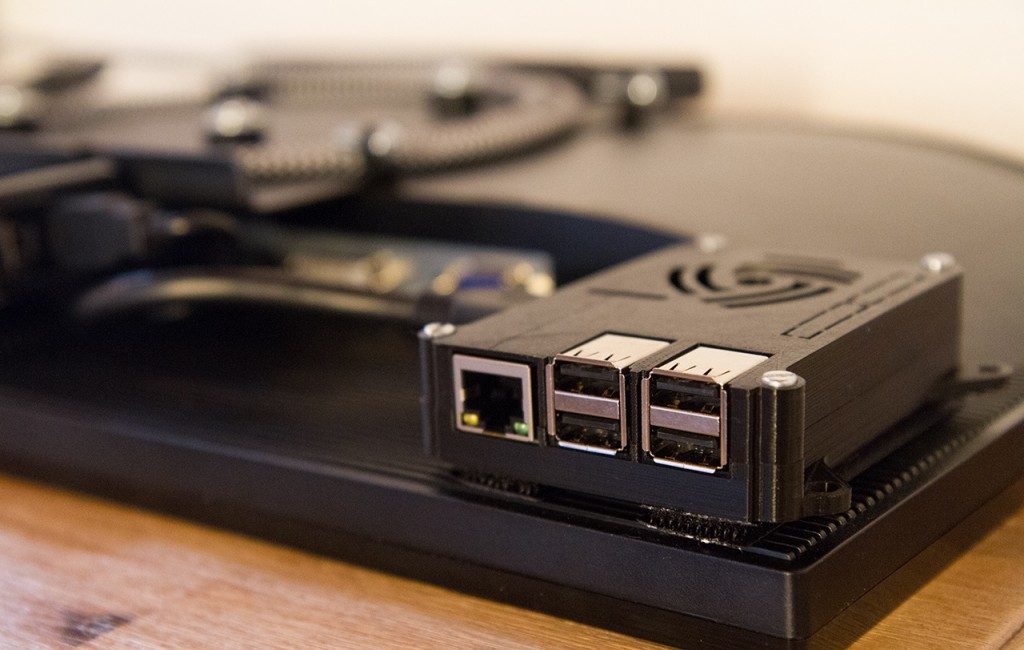
- Enough space behind the monitor for the Raspberry Pi incl. wiring and power supply unit
- Built-in power supply (stowing an additional power supply requires additional space + cable)
- HDMI (There are actually still enough monitors in the lower price segment that only have VGA connectors!)
- Connections in direction “side” and not “rear” Otherwise the plugs are applied in addition to the thickness
- Slim design to some extent
My choice fell after several visits of electronics markets on an Acer K242HLA… – Monitor. This is a bit thicker than I would need it for the Raspberry, but otherwise it meets the other requirements quite well. The only disadvantage is the uneven viewing angle stability. So you have to think about which side the mirror is mainly viewed from and how to walk past it.
Of course, an OLED monitor would be great if the black pixels are really black. With conventional backlit monitors you can see where the screen is in a dark environment.
I got the picture frame of the standard size 40cm * 60cm. But I have already requested a cost estimate of ~35€ for a made-to-measure production. The delivery times were too long for me. But that can still wait.
parts list
- Monitor Acer K242HLAbid
- Spymirror 40cm x 60cm
- picture frame 40cm x 60cm from the artist’s supply
- Rasberry Pi 3
- 0,2m HDMI Kabel
- TV Wall Mount Flt
- micro SD Card
- z.B. 2x Eurokupplung
- z.B. 2x Eurostecker
- USB-Ladegerät 2,4A
- USB-Kabel kurz
- Raspberry Pi Case (Thingiverse / Amazon)
- Velcro for loose fixing of the components on the monitor
- Textile cable Fabric cable 2 wires
- Various parts from the 3D printer i uploaded here: thingiverse
- Black cardboard from artist’s supplies for cutting a passe-partout (for facing the open areas around the edge of the monitor).
Mirror
Many hobbyists report good experiences with mirror foils but I was unfortunately not satisfied with the result. The dust-free processing is not easy but I was also not satisfied with the transparency or reflection.
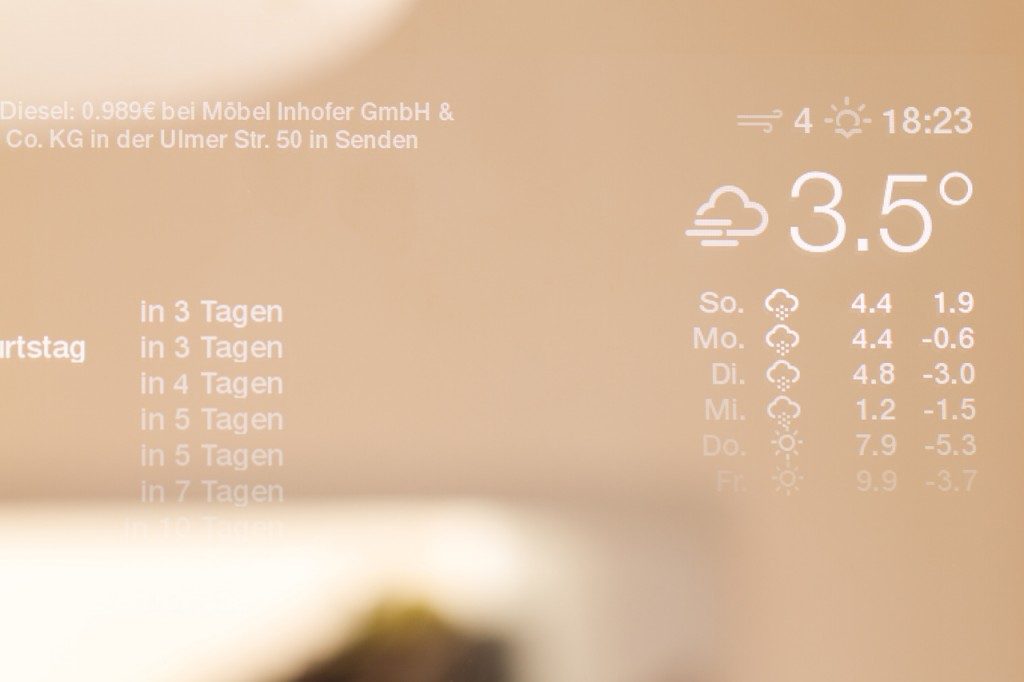
I finally decided on a real spy mirror with the following specifications: 60% reflection, 3% vision. I like the result much better. The extra price pays off in any case.
outlook
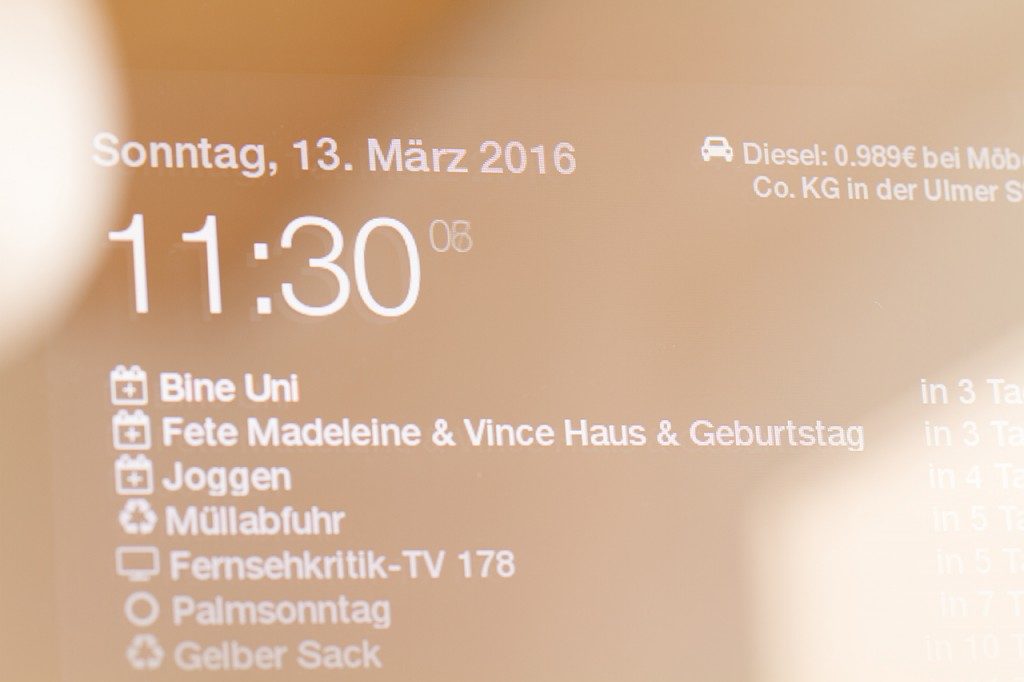
At the beginning I used the interface and the software mostly from the work of the other hobbyists. But at the moment I’m still missing a few modules to take care of. These include for example a todo list (google keep?), general notes, an RSS feed of my unread Feedly.com entries and so on. Especially about the software of the Smart Mirror I will write a separate article soon.
power consumption
I could measure the power consumption with 100% screen brightness on average at approx. 24.4W. If the display is off, only the Raspberry 1.4W is allowed. In the 100%-On results thus an annual electricity consumption of 64€ (5.30€/month). I would still like to occupy myself with a presence recognition to activate at least the screen only with my presence.
Update: -40% power consumption via Geofence
Read more
l2ping <– The attempt to detect a presence via Bluetooth
Geofence <– Geofence as presence detection
Linklist
Special thanks to all bloggers from whom I could get many inspirations and who also did a great job with the interface and the additional software modules.
dracarysdiy.wordpress.com
michaelteeuw.nl
smart-mirror.io

[…] the presence detection of my Smart Mirror I would have liked to use a Bluetooth ping via l2ping with the on-board means of my Raspberry to […]