I am constantly looking for new lamps and luminaires to slowly replace the optically not so great standard lamps in the household.
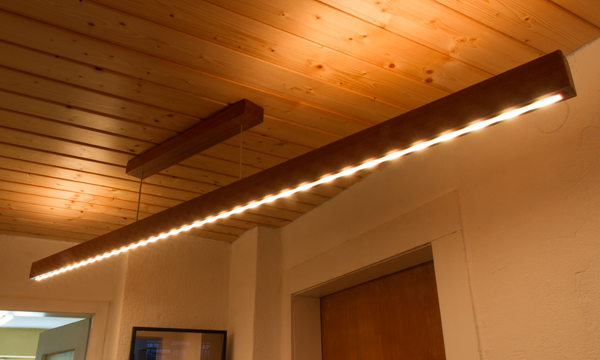
I wanted a more or less minimalist lamp for the hallway, which would illuminate the room evenly and could also be adjusted in brightness due to the Smart Mirror. If the room is illuminated too brightly, the readability of the Smart Mirror suffers greatly. So it should be a combination of direct and indirect lighting.
Controllable lamp concepts are now distributed by some manufacturers, but unlike Osram, Phillips also lets third-party devices log into its ZigBee network. That’s why the Philips Hue concept was chosen.
Design
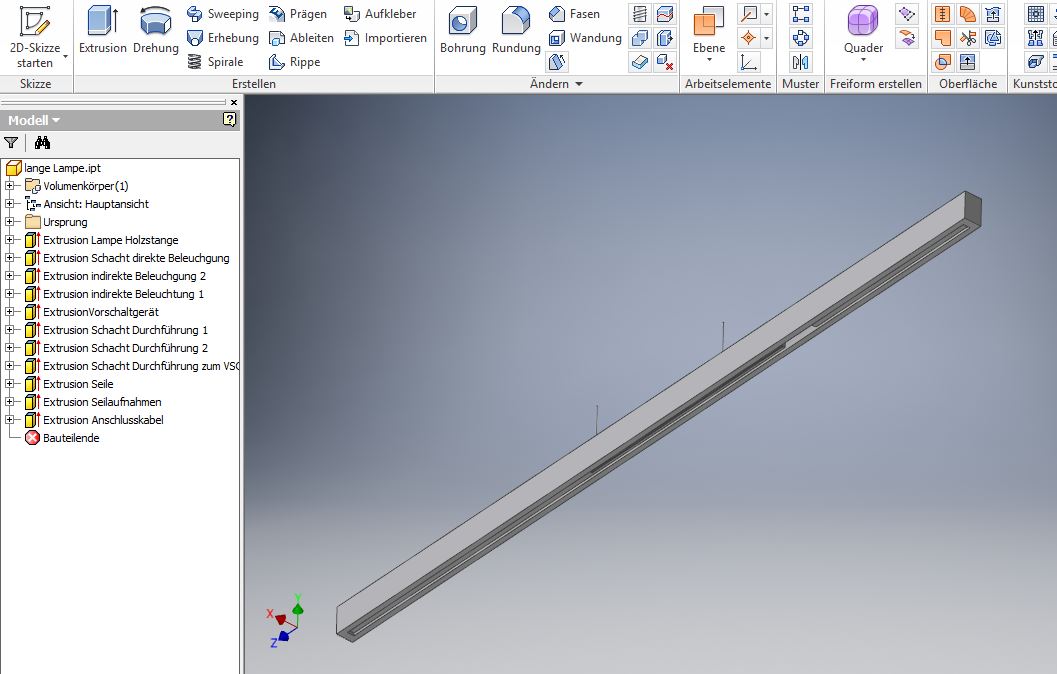
I designed the lamp in Invenor as a CAD model to be able to plan the exact dimensions for the cutting masks of the holes, the suspension and the weight distribution.
Shopping List
Philips Hue LightStrip+ 1m Verlängerung
Bettbeschlag Linsenkopf für die Deckenbefestigung (Baumarkt)
Manufacture
I had to comb through several DIY stores to get a beam in my hands, which was straight on the first 2.1m and whose remaining 60cm was only inconspicuously tordiert. I hope that this beam does not warp afterwards.
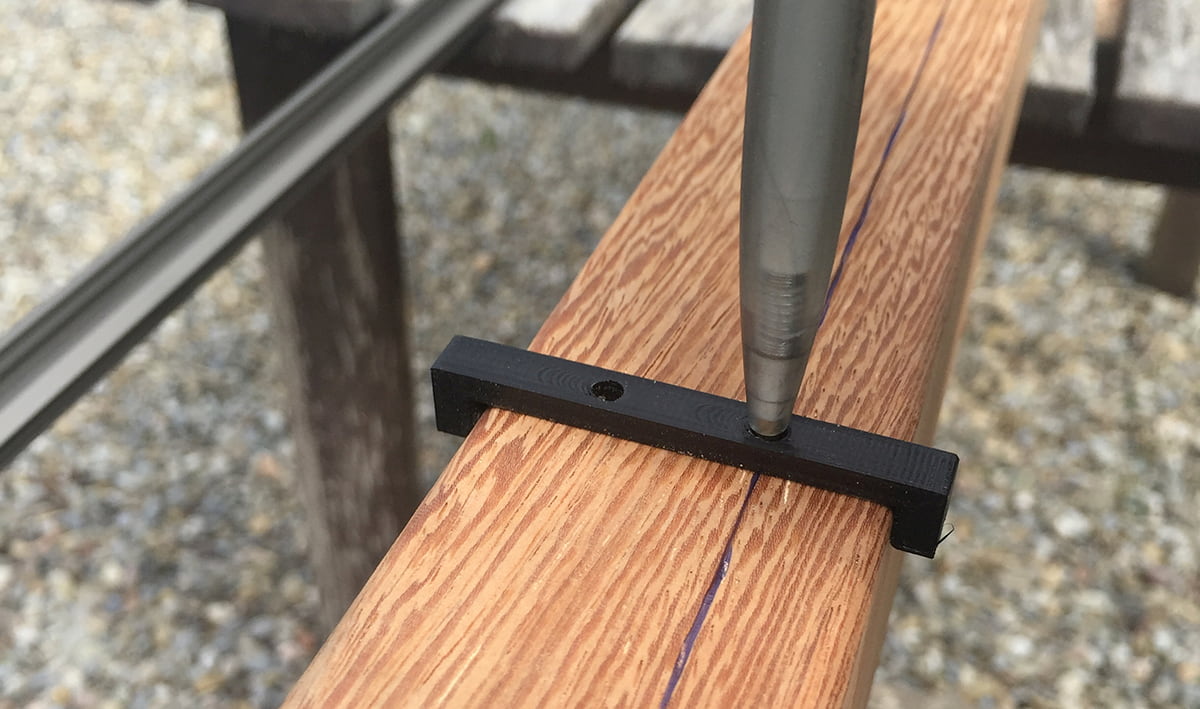
I milled the groove for the aluminium profiles with a router. On the distance of 2m a Tolleranz of only 1mm with the hand to lead is not easy and requires some patience and concentration. Time for a CNC milling machine! In order to at least be able to do the preliminary drawing straight, I quickly left an auxiliary draughtsman from the 3D printer.
The total milling time for the lamp and the canopy was approx. 5 hours.
Afterwards I embedded the two wooden parts several times with a colourless glaze, which doesn’t darken the dark lamp too much anyway, but still brings out the structure beautifully.
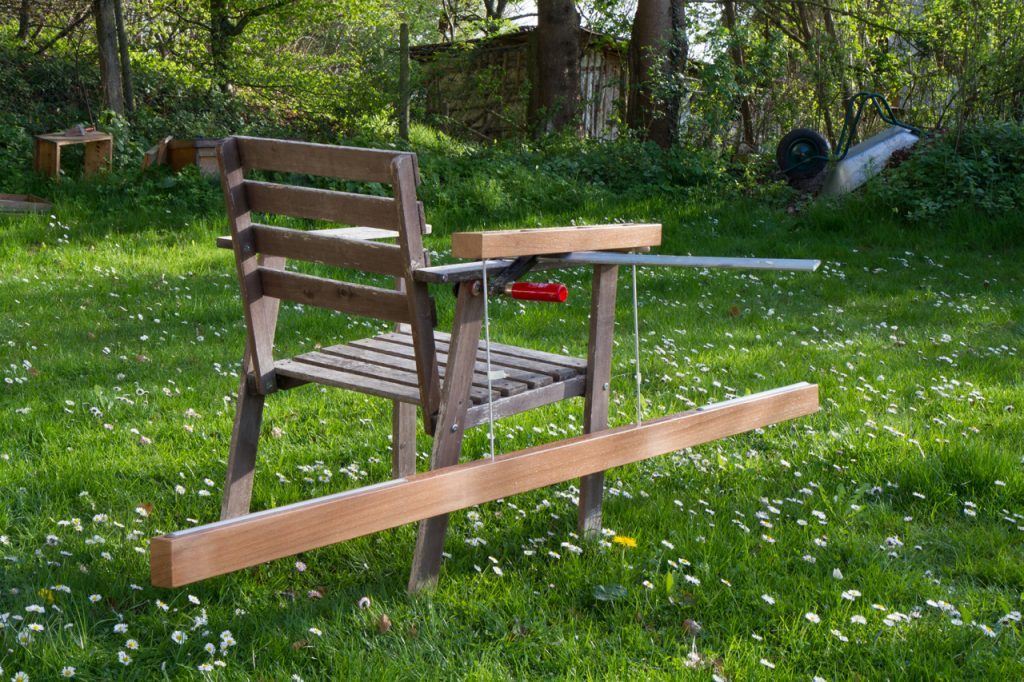
… Fertig fürs Erste… 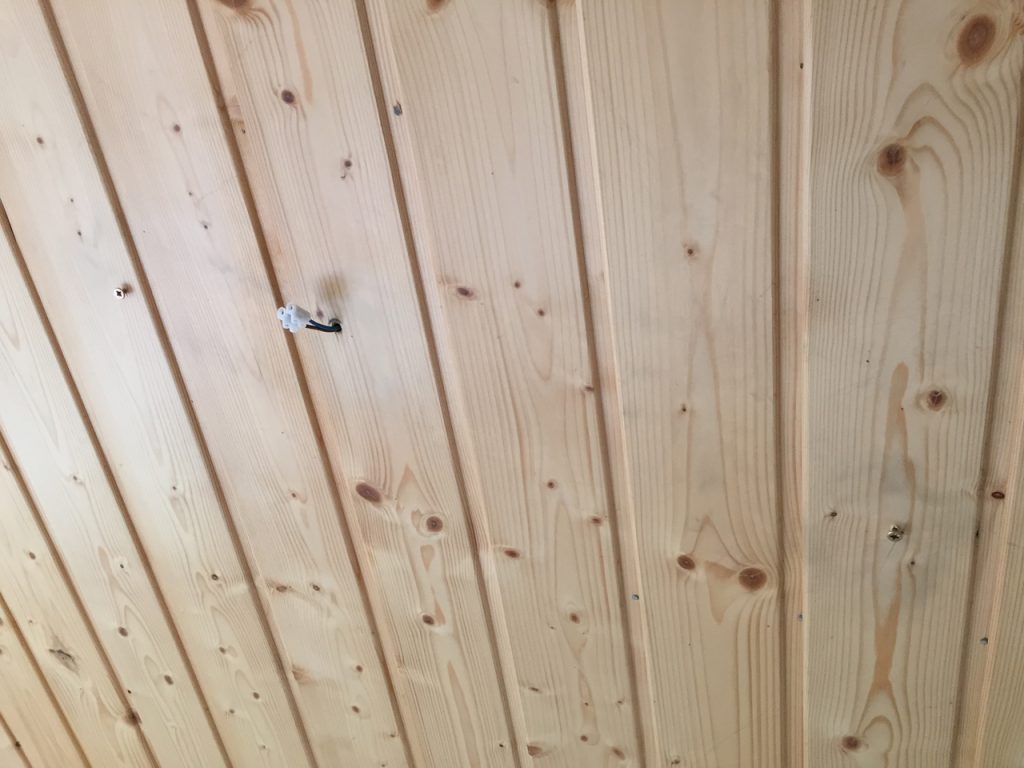
2 Schrauben für die Aufnahme 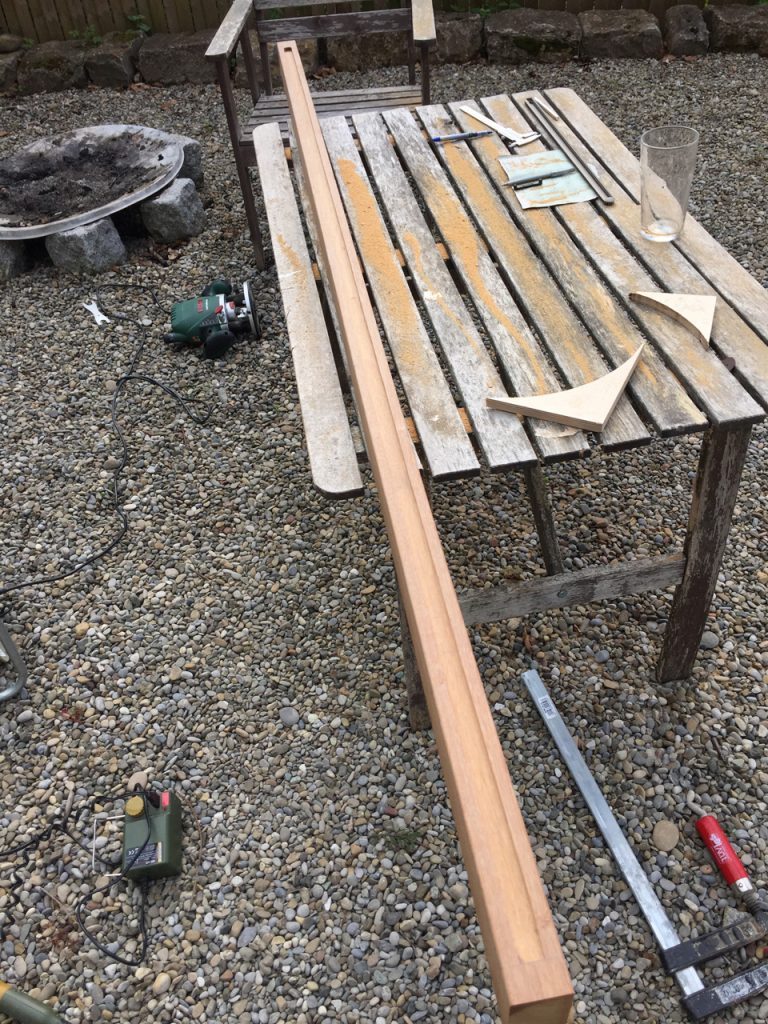
2m Fräsnut 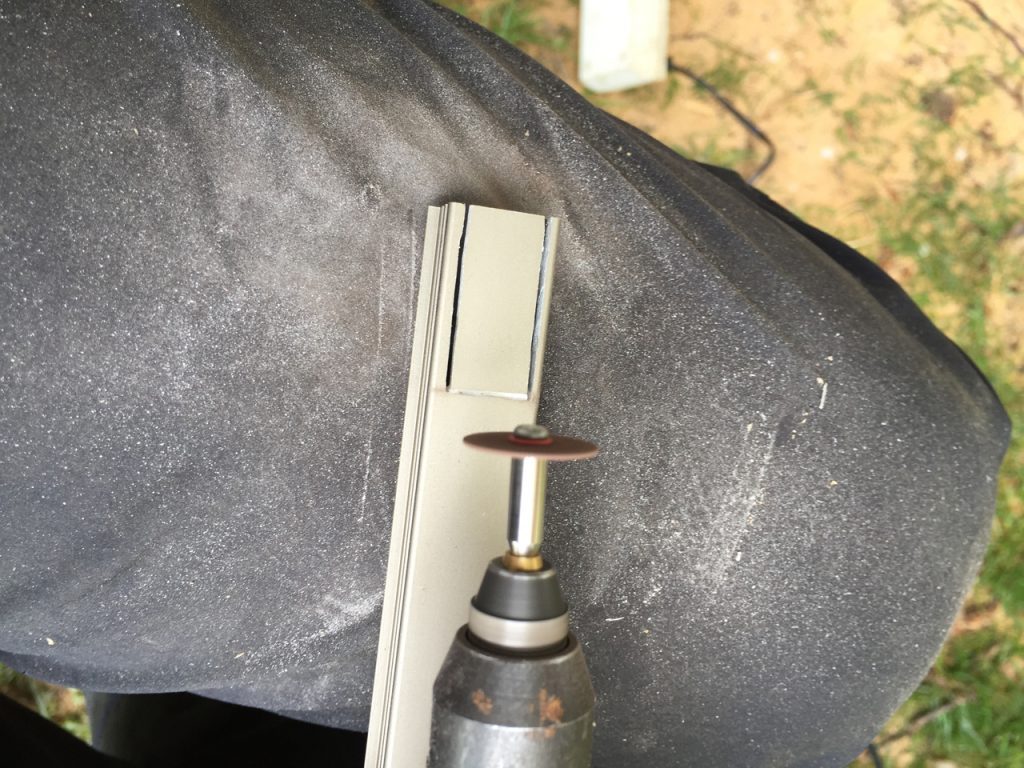
Aluprofil Durchführung 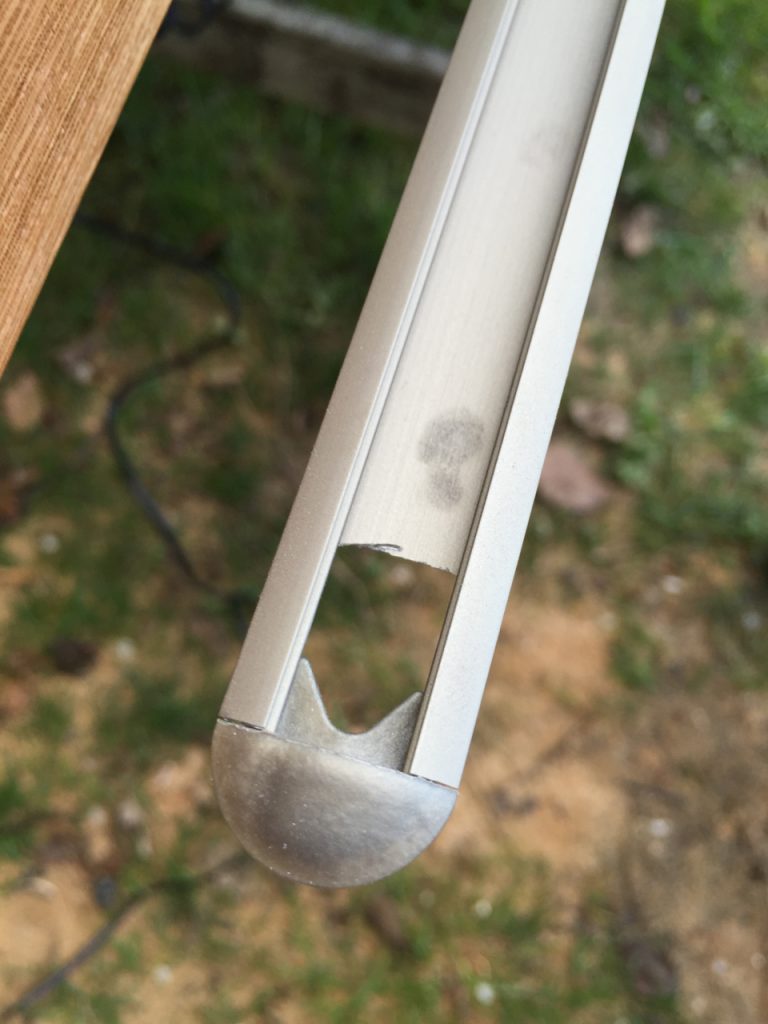
Aluprofil Durchführung2 
Baldachin und Lampe 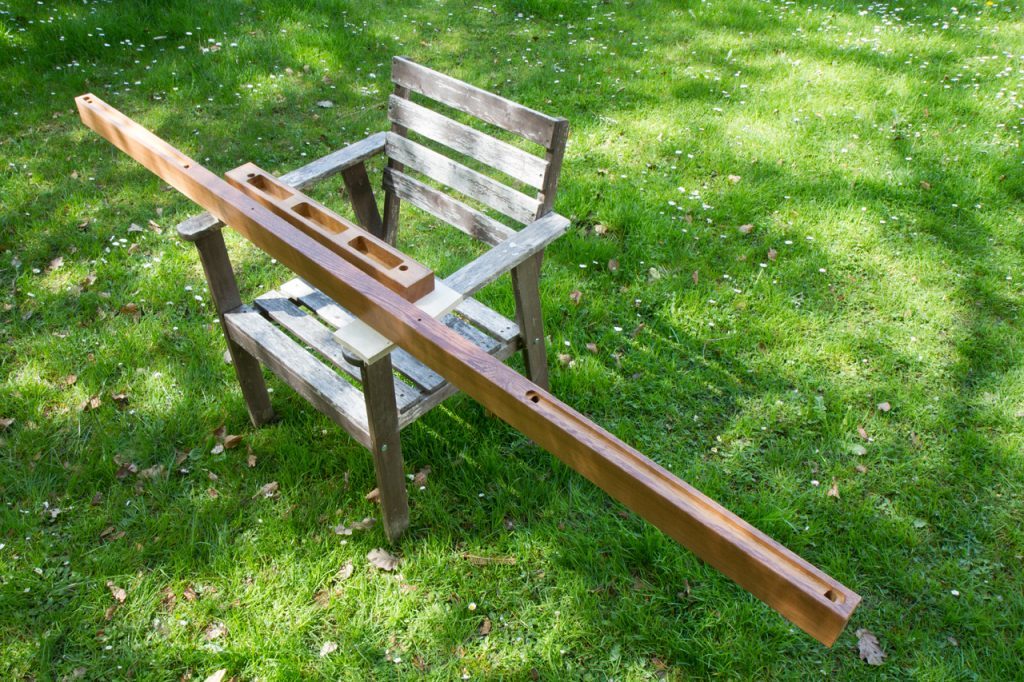
Baldachin und Lampe2 
Baldachin 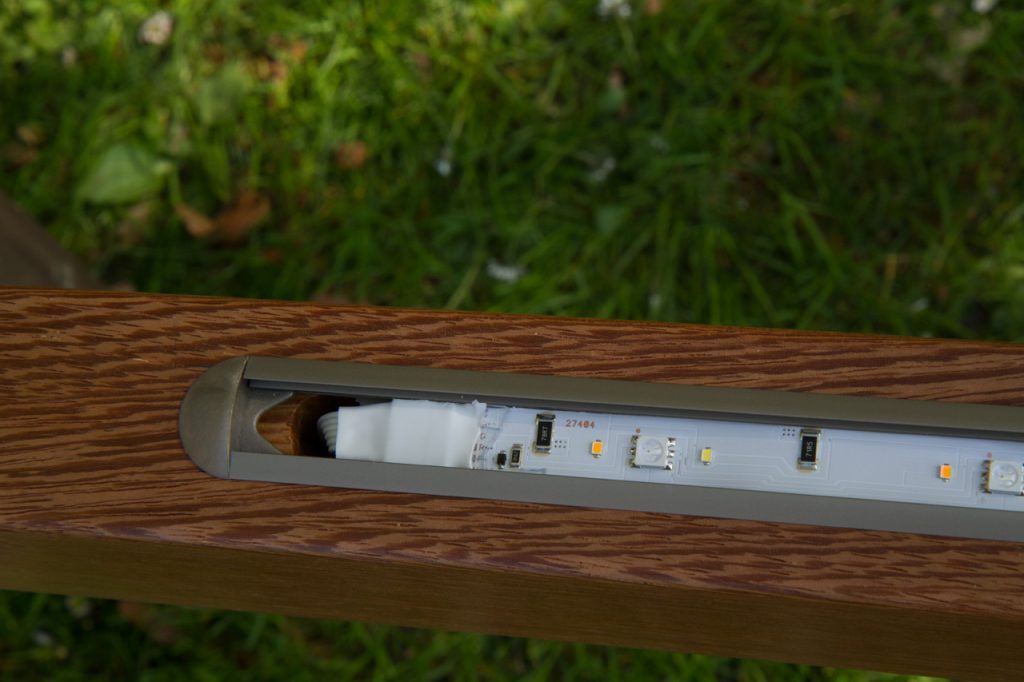
Der Anfang des Strips 
Die Minus-Leitung 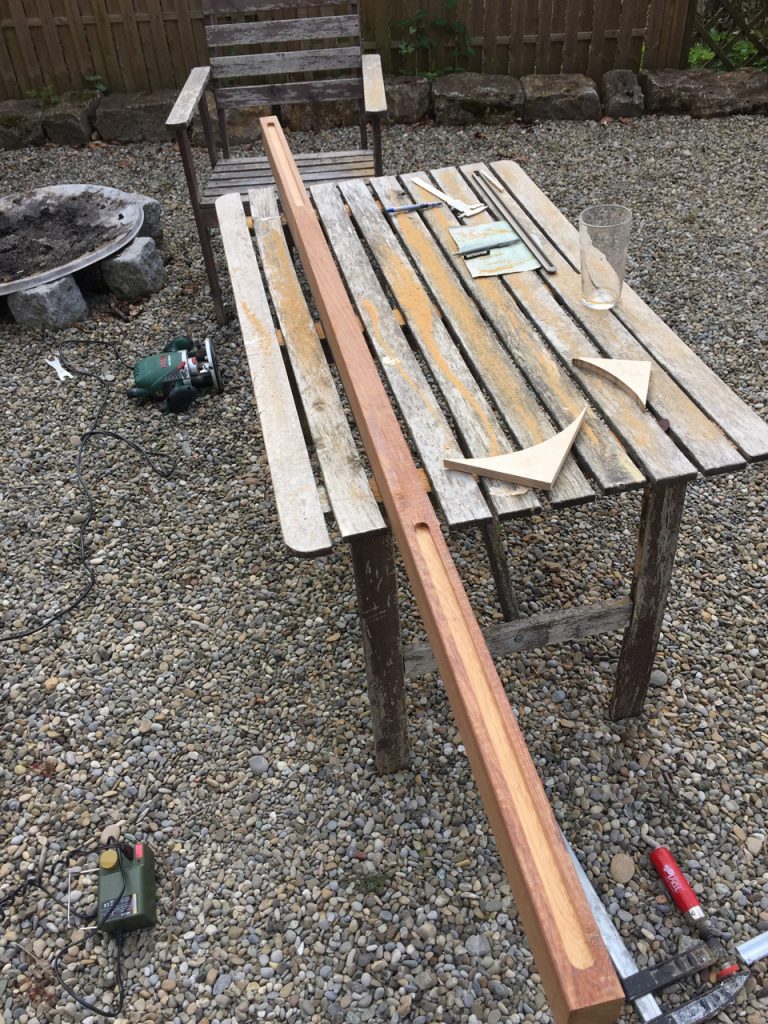
Die Nut für die indirekte Beleuchtung 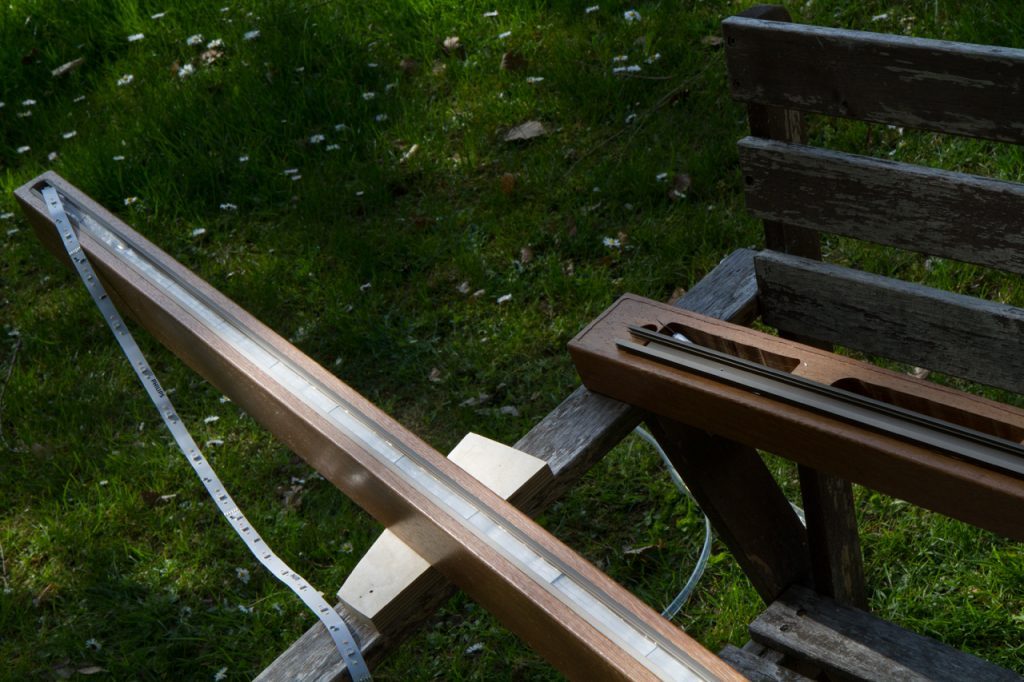
Eingelassenes Aluprofil 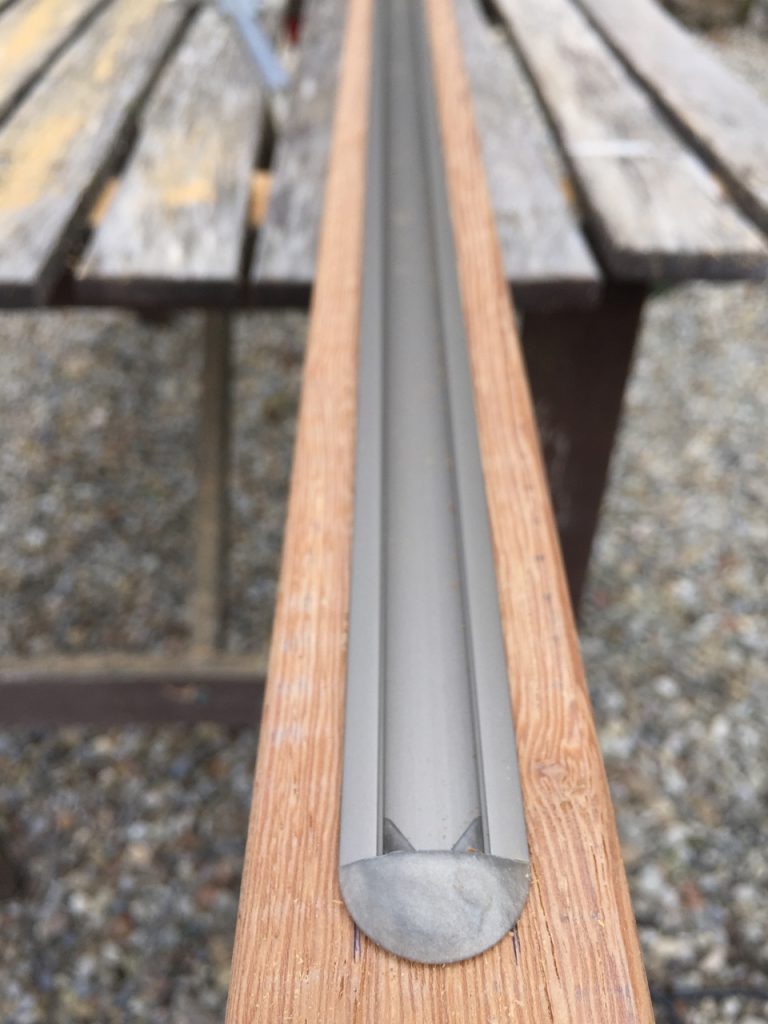
Eingelassenes Aluprofil2 
Isolation für die Kontaktstellen alle 33cm 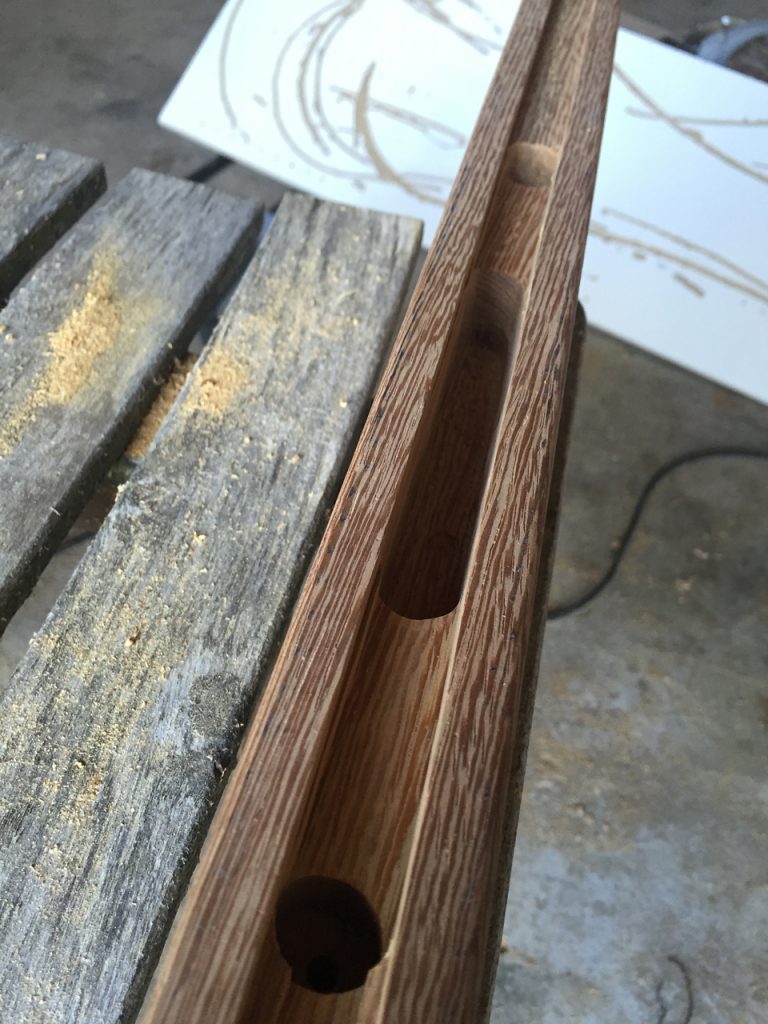
Lampe Einlassung ZigBee Modul 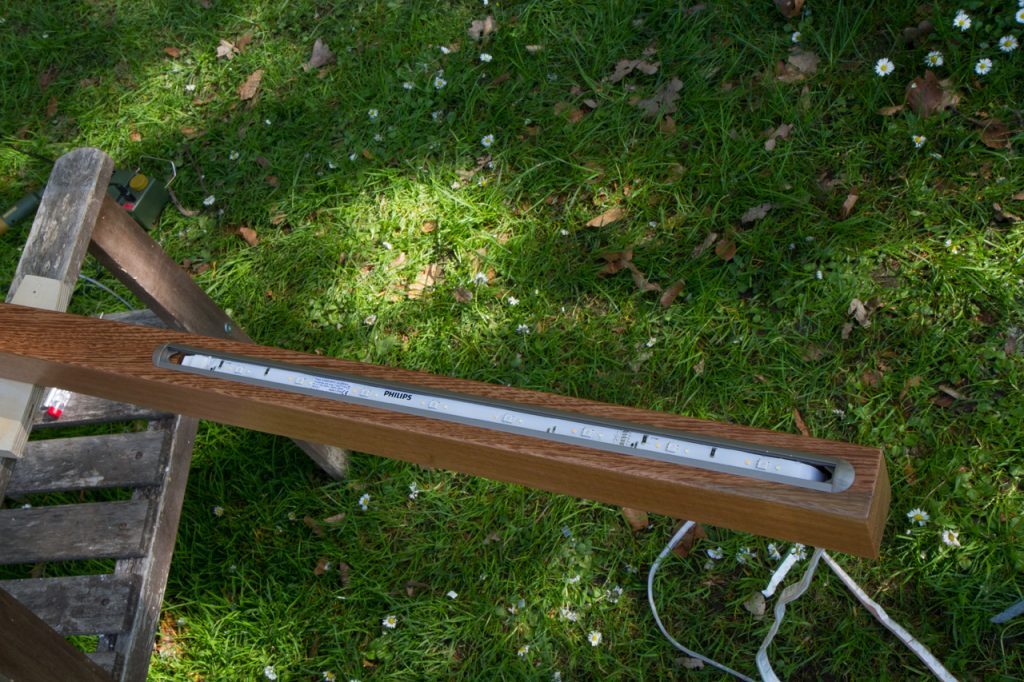
LED Strip im Profil 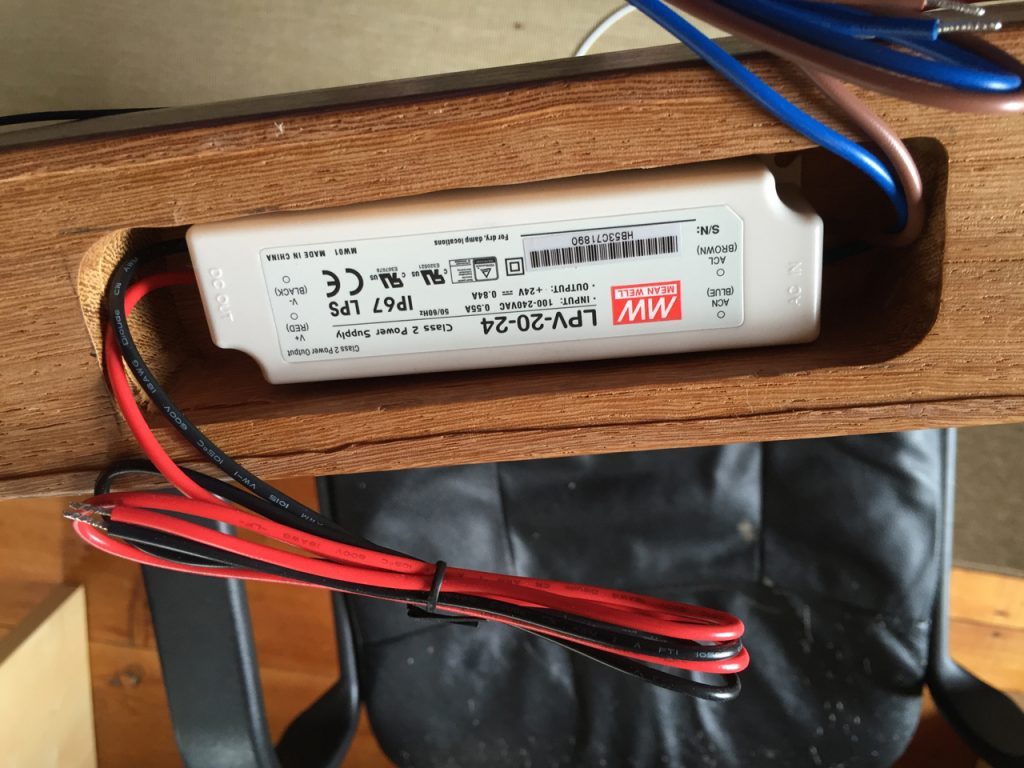
LED-Netzteil 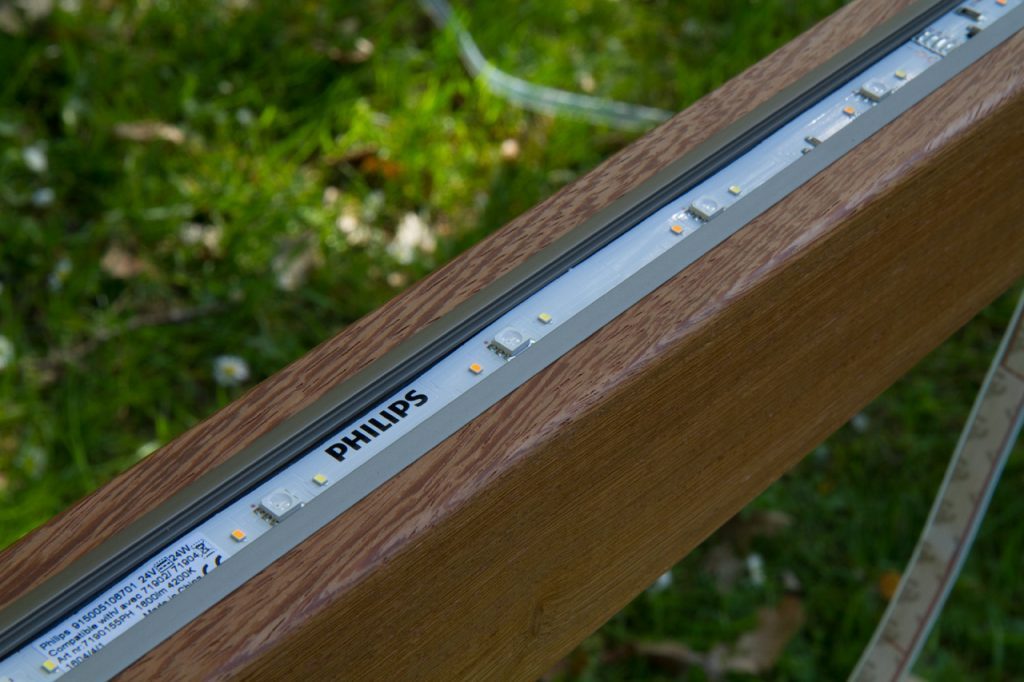
LED-Streifen im Profil 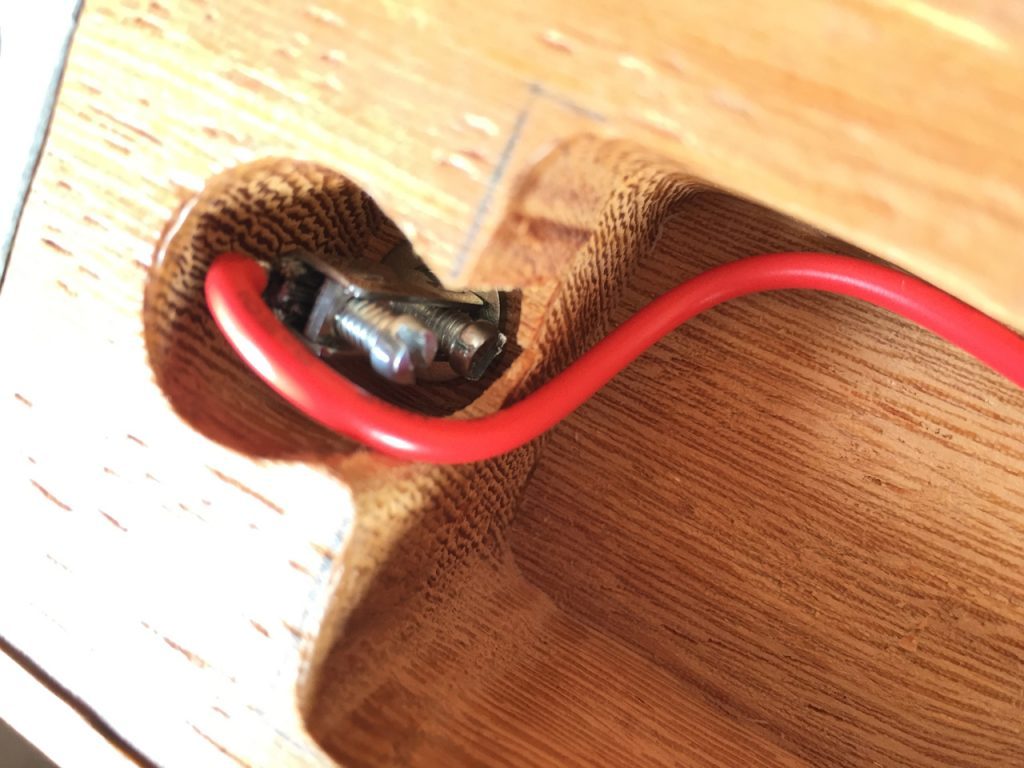
Minusleitung – Drahtseil 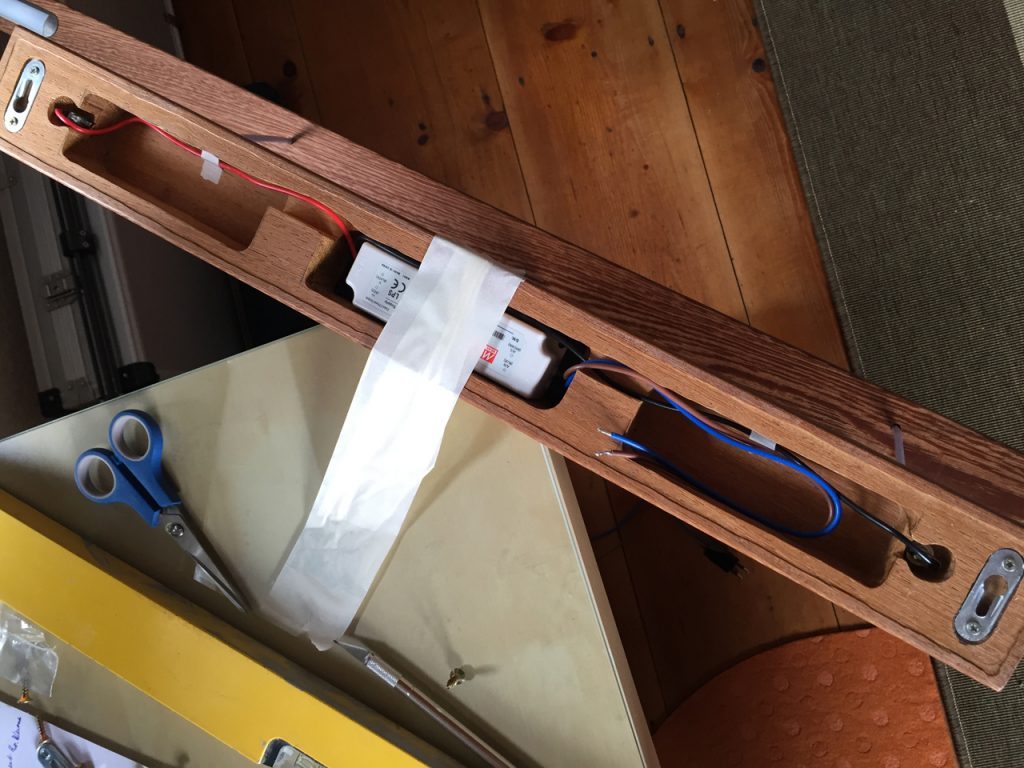
Verkabelung 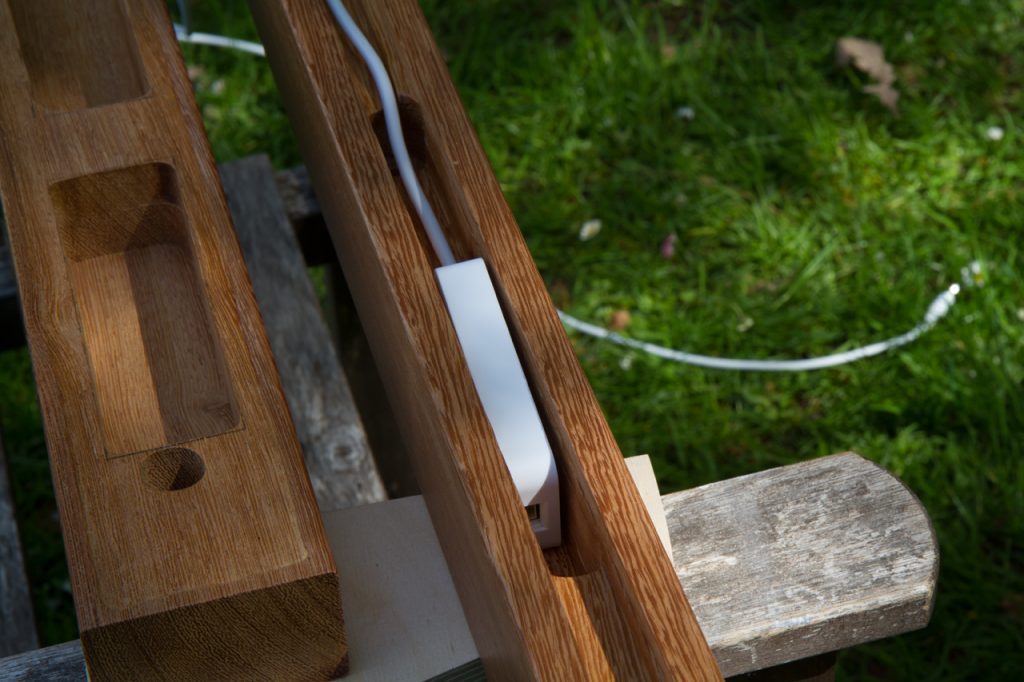
ZigBee Modul
LED-Stripes
The Philips Lightstripes+ are unusually wide for LED strips and additionally embedded in a silicone tube. The problem is that there are no “T-Aluminum Profiles” on the market in the appropriate size. That’s why I cut the silicone tube open and let the LED Stripe into the profile without the protection. To prevent the stripe from suffering a short circuit on the aluminium profile, I inserted the “bottom” of the silicone tube as an insulator and placed it between the aluminium profile and the LED stripe.
Fortunately, the ZigBee module doesn’t get much warmth and can therefore, in my opinion, be easily inserted into the lamp.
Power Supply
The included power supply is unfortunately too big for the canopy and therefore I bought a different LED transformer as an exchange, which could be easily integrated into the canopy from the dimensions.
Unfortunately, the problem with the new power supply is that it whistles unpleasantly at higher loads. So I will have to look for a replacement.
In the meantime I opened the included Philips power supply and noticed that the interior was packed unnaturally thick. The electronics in a self-printed housing from the 3D printer would be about 4-5mm narrower and could therefore possibly still find room in the canopy.
Bottom Line
A great project, with a material input of approx. 170€ and approx. 10h work distributed in planning, parts organization, manufacturing and installation. At the moment I test the functionalities of IFTTT to put events on the lamp in addition to the time profiles (The ISS flies over the property, weather announcements etc.).