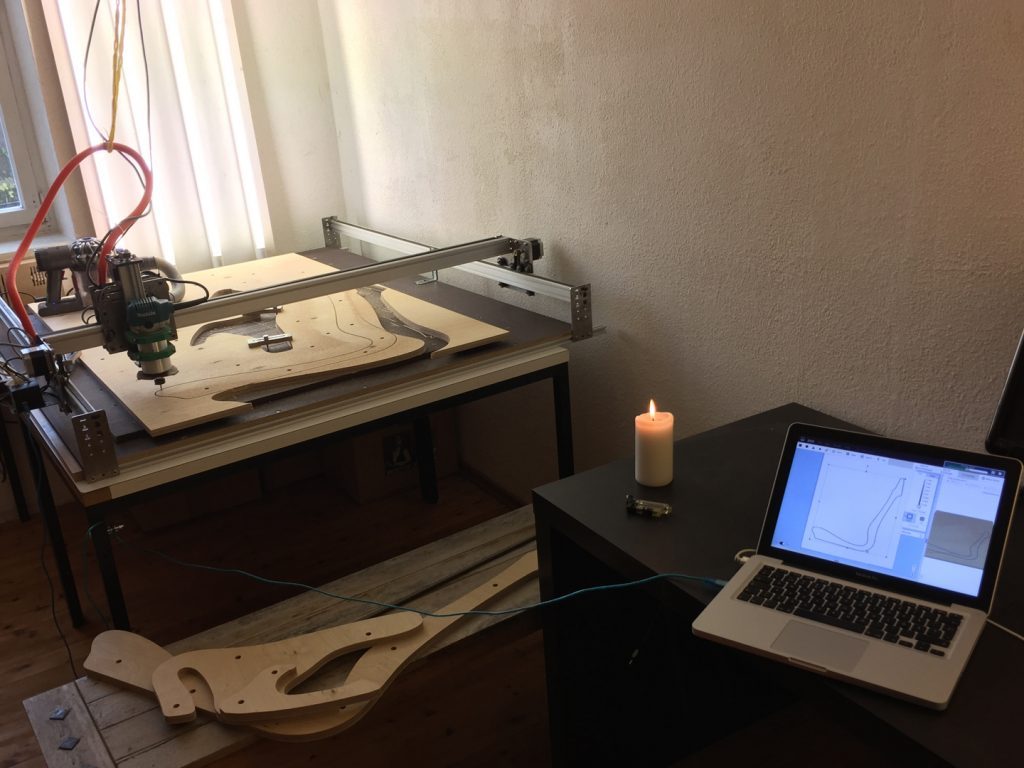
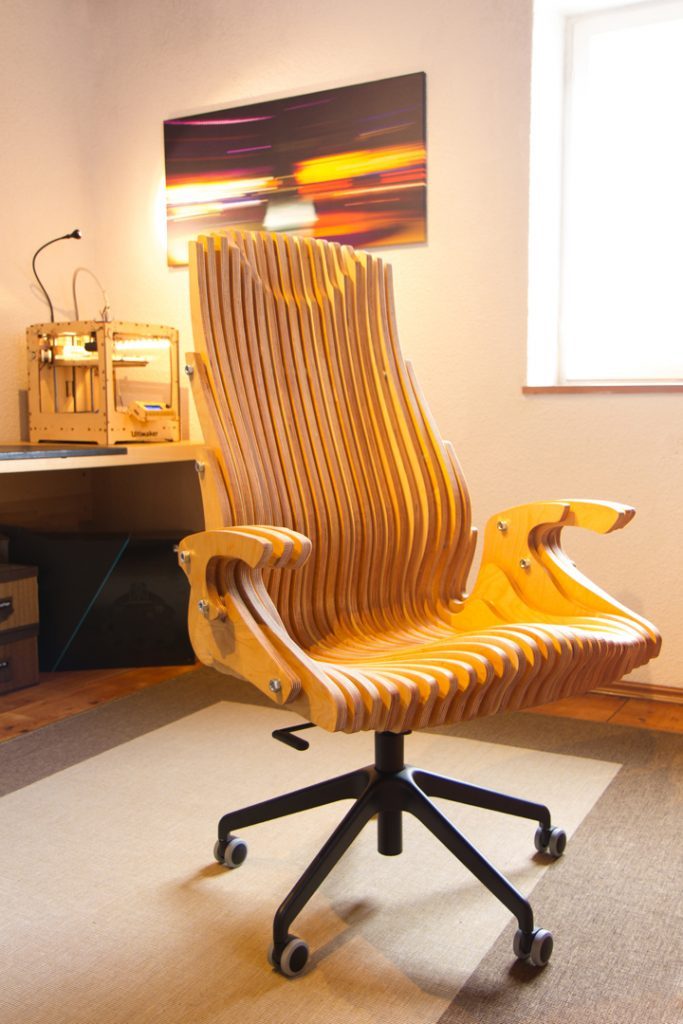
What do you do if you don’t get really warm with the office chairs offered and you have a CNC milling machine in your house? – Just build your own chair!
Now there is the possibility to consider your own design. But I simply don’t have the experience how a comfortable office chair has to be designed. How wide, how high, what angle the backrest must have etc…. Simply too many variables that I would at most have to measure and test to find out. This would have simply made the project too extensive for me.
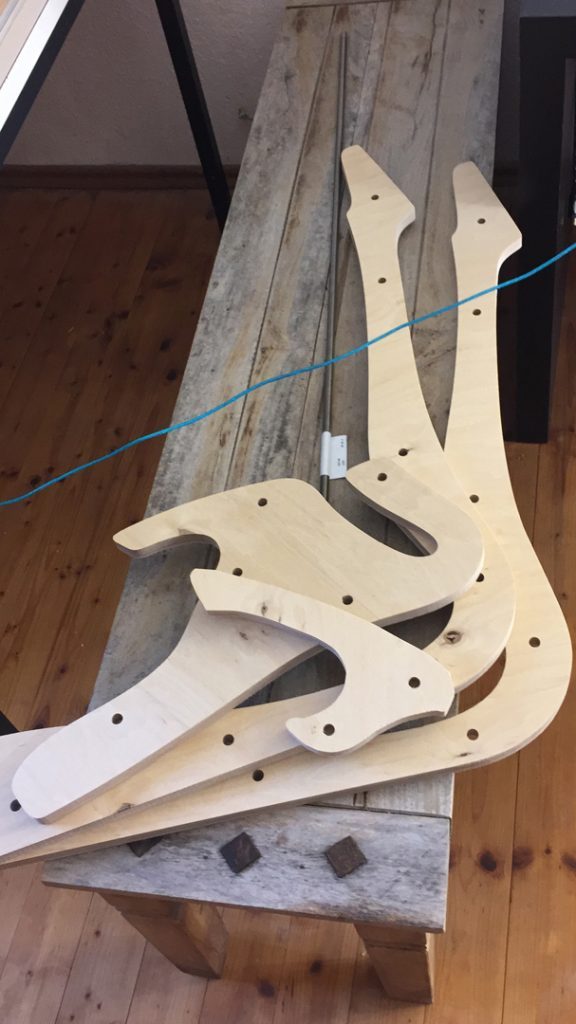
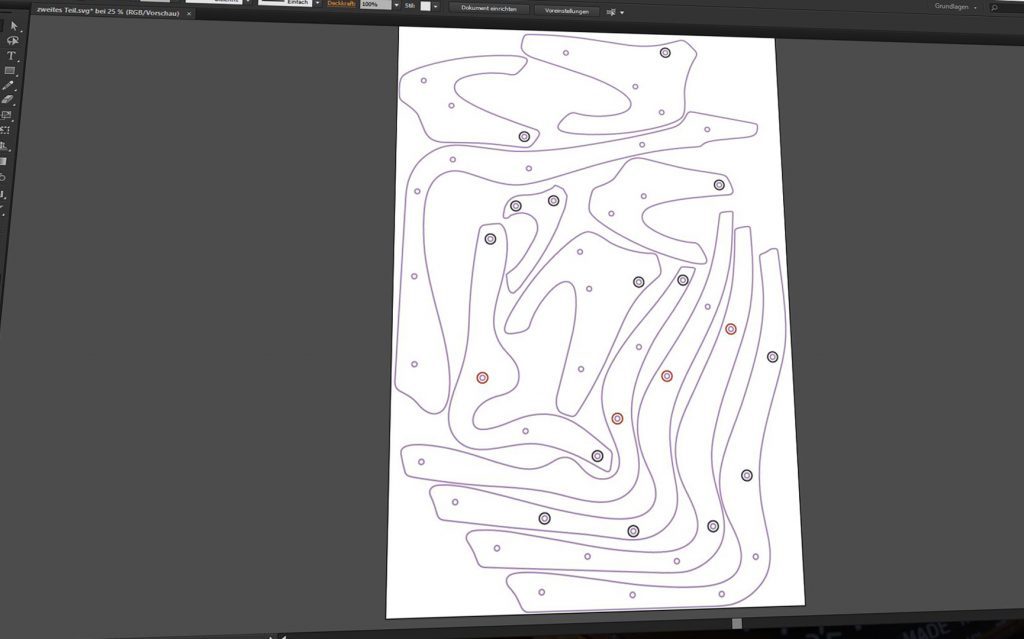
Fortunately, there are already finished designs available that look promising and are designed for production with a CNC milling machine. For example, the design I chose: “CNC drawing “Parametric chair” by 3Bee Studio.
For download I got a .dxf file with the cuts of the respective layers as well as the intermediate parts. In addition I got some tips for the production. Super Service!
From my last project with the desk I learned how important and how much cheaper production can be if you invest time to arrange the cuts efficiently on the milling table. It wouldn’t have been possible to imagine how expensive the wood would have been had I wasted too much space.
For several weeks I only ate a few pieces every evening, but that wasn’t enough. The grinding, oiling and assembling took many, many more evenings. I had not been able to estimate this massive expenditure at all during the project planning.
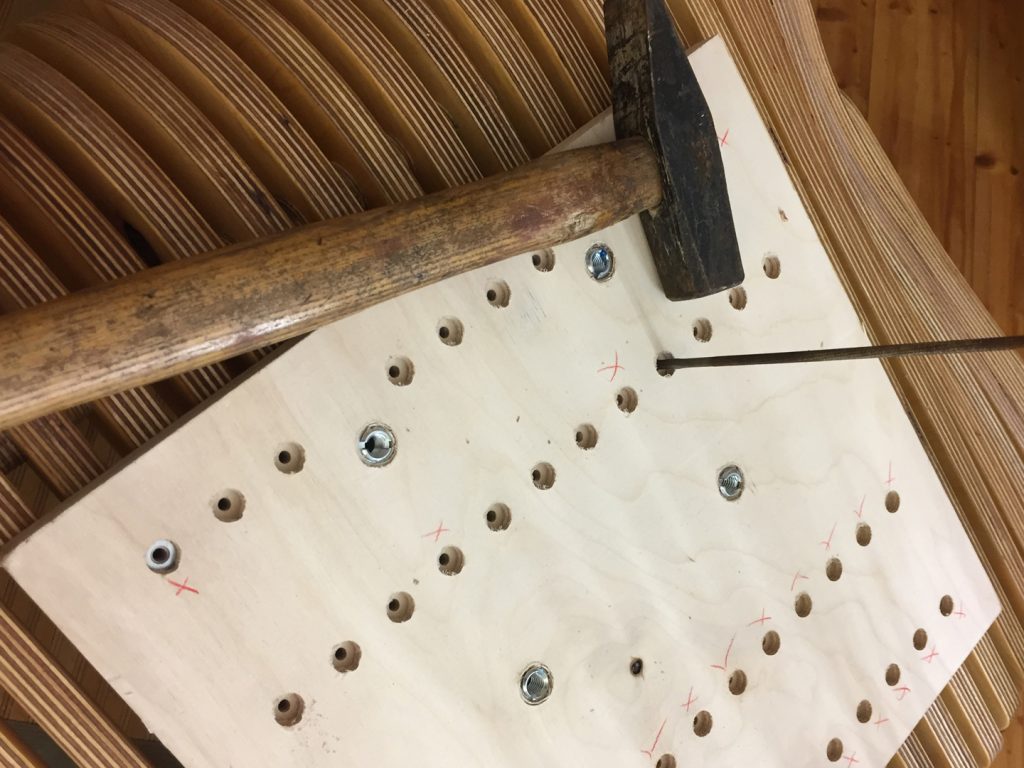
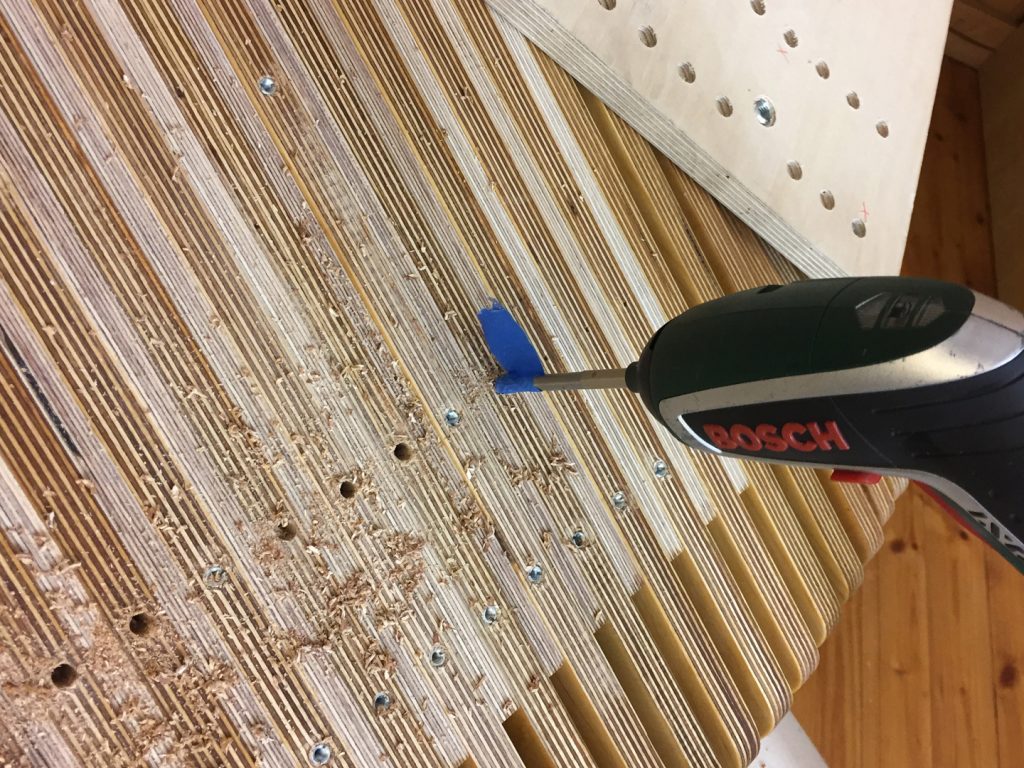
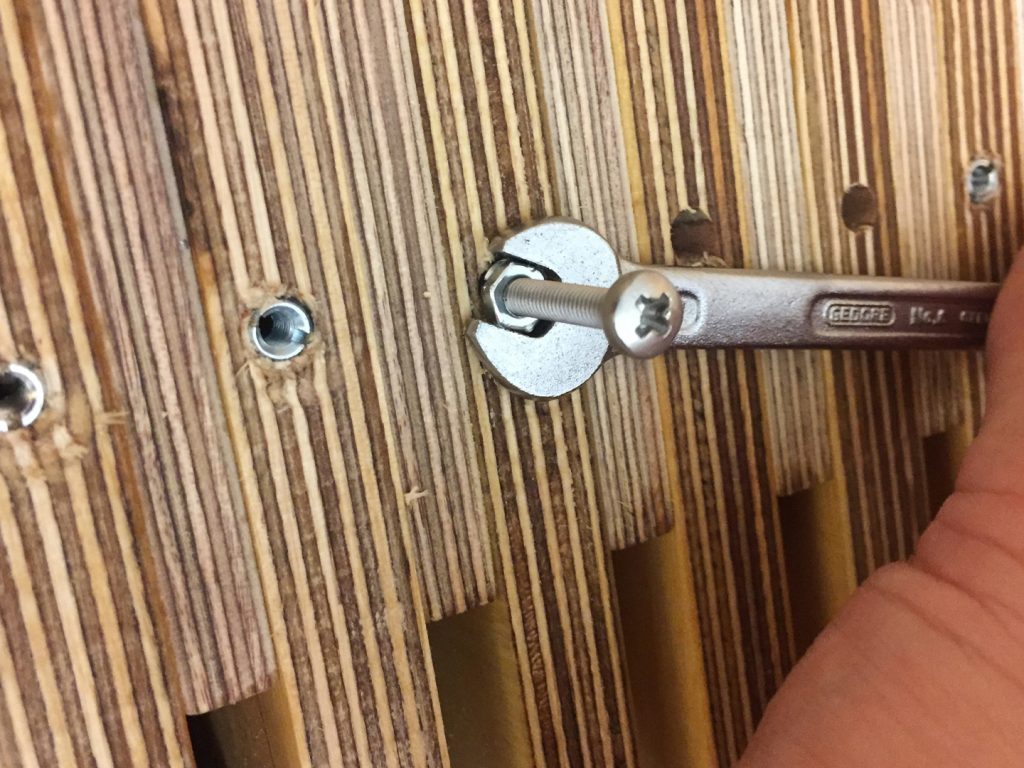
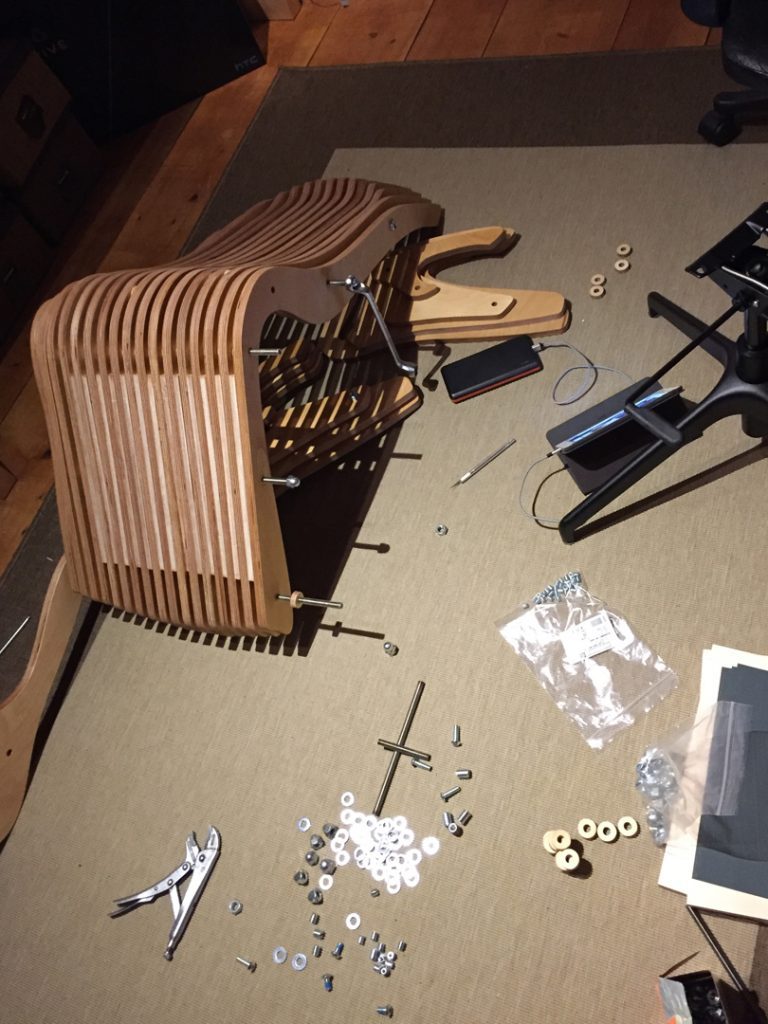
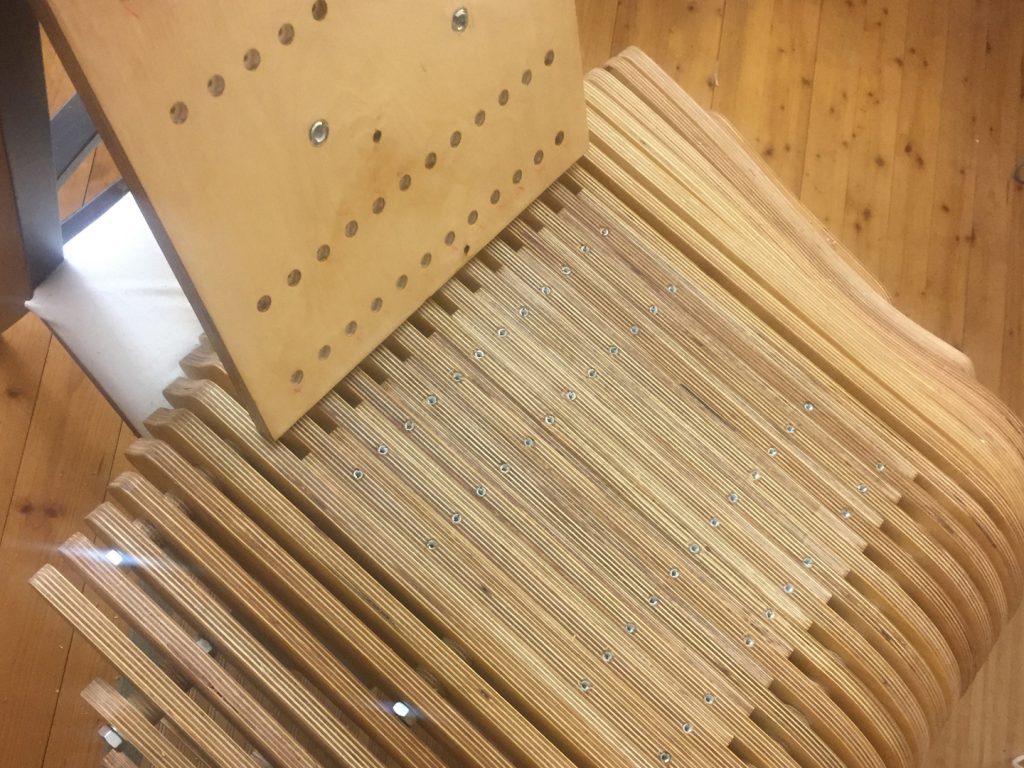
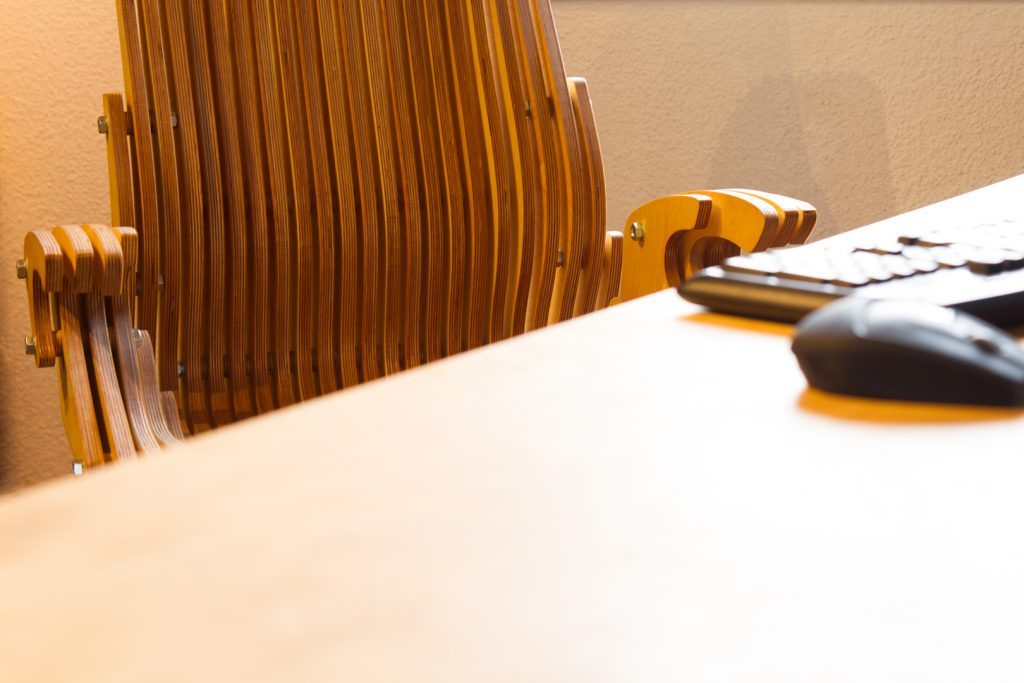
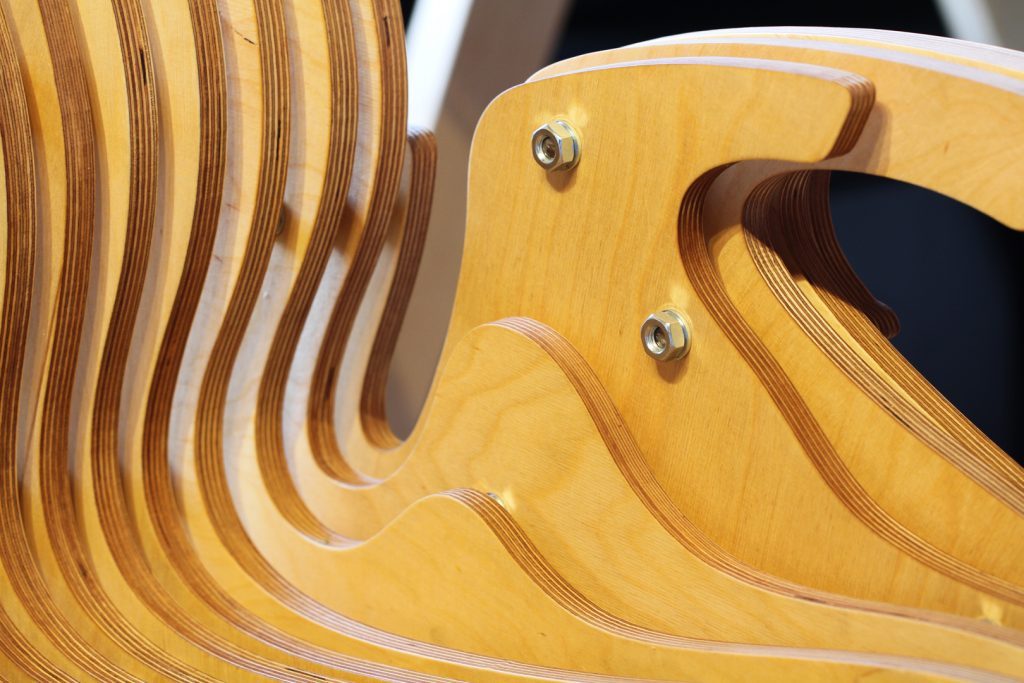
The mounting of the chair on the turnstile was tricky. I had only bad experiences with the processing of screw nuts in wood before. I had never managed to get the parts straight into the lining. In addition, the screw-in nuts had to be screwed this time even into the front surfaces of a multiplex plate. The danger of the layers splintering here was very great. Therefore I have attached as many points as possible to the pressure distribution, that if necessary a screwed in nut does not endanger the stability. But this time it worked fine to screw the small M4 nuts.


The material list:
The design: 30€
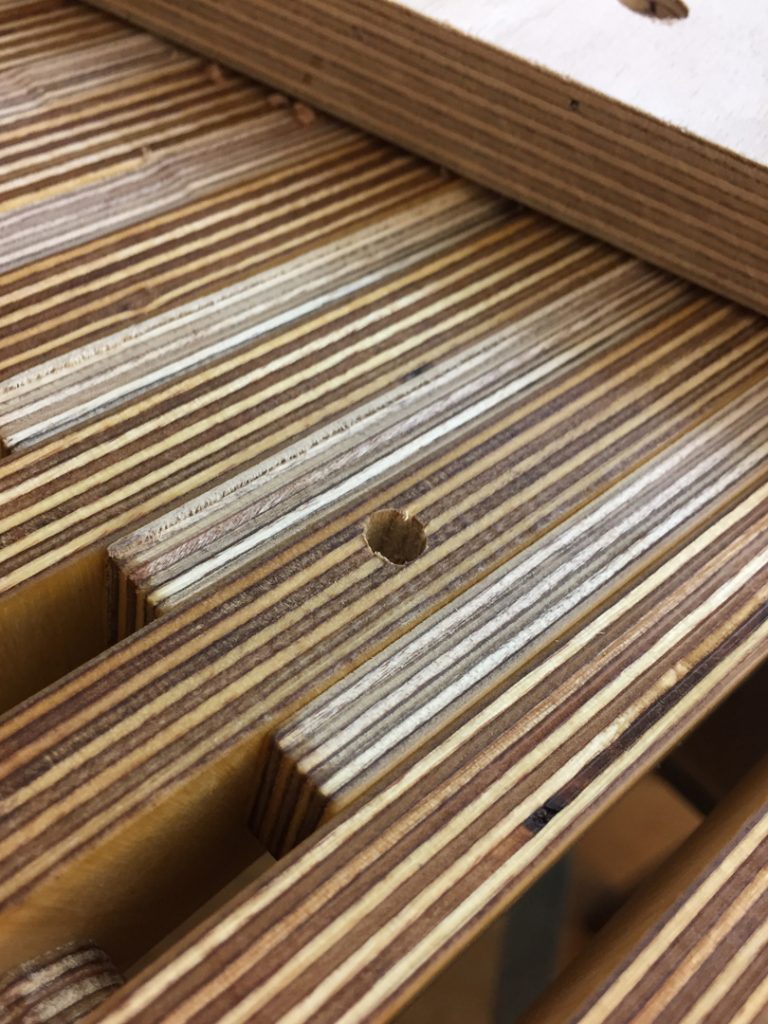
900mm * 1350mm Birch Multiplex 15mm (3 times) = 124€
900mm * 600mm Birch Multiplex 15mm = 18€
650mm * 600mm Birch Multiplex 9mm = 12€
M10 GThreaded Rod 1m (5 mal) = 25€
310mm * 300mm Birch Multiplex 18mm = 4€
Ikea Turnstile underframe = 79€
M10 washers (42 times) = 5€
M10 Nut (42 times) = 7,80€
screw-in nut 4 * 8 * 8 (40 times) = 8,40€
screw-in nut 8 * 8 * 8 (4 times) = 4€
M4 screw 4 * 20 (40 times) = 6€
Various sanding sheets = 10€
Summe 333€
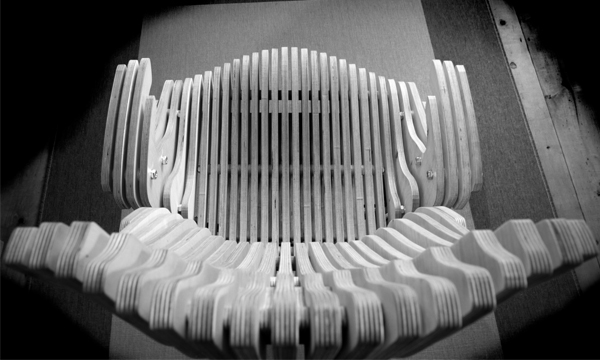
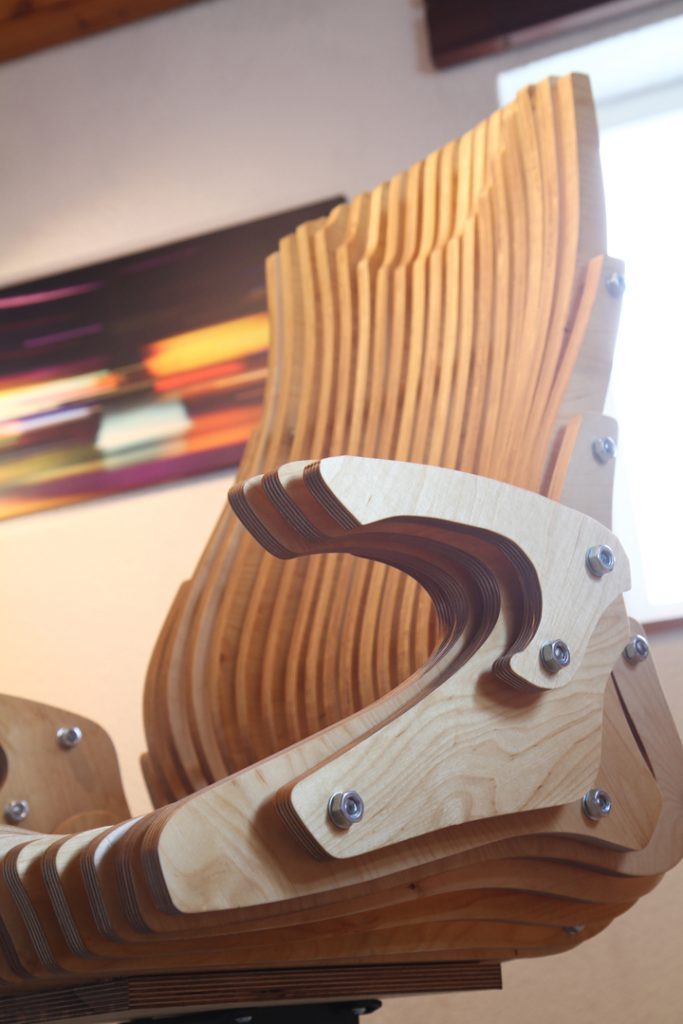
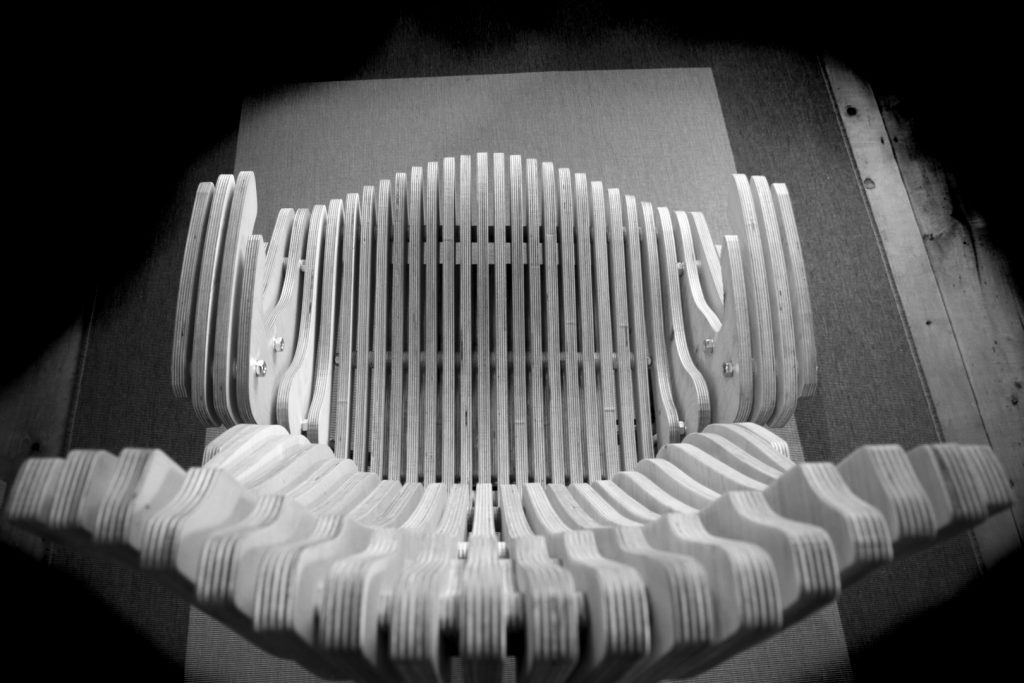
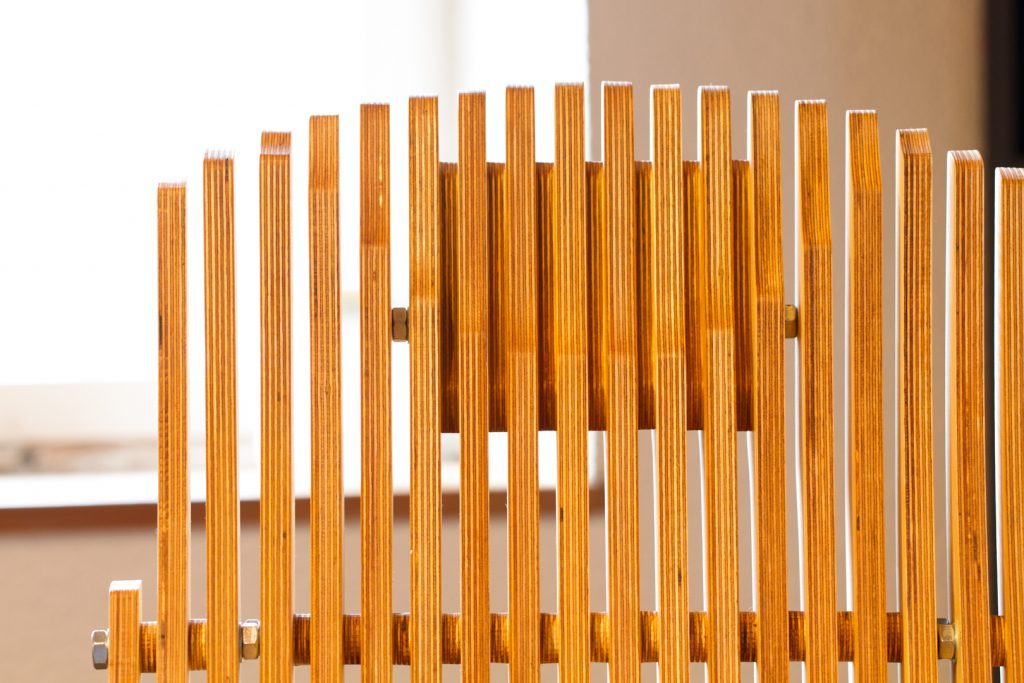
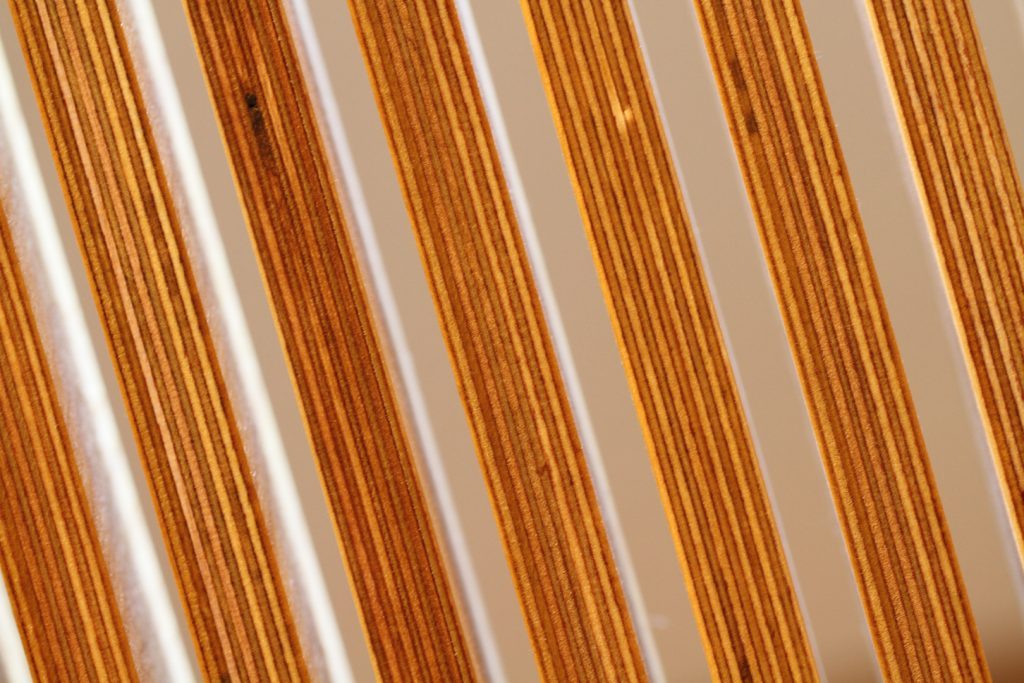
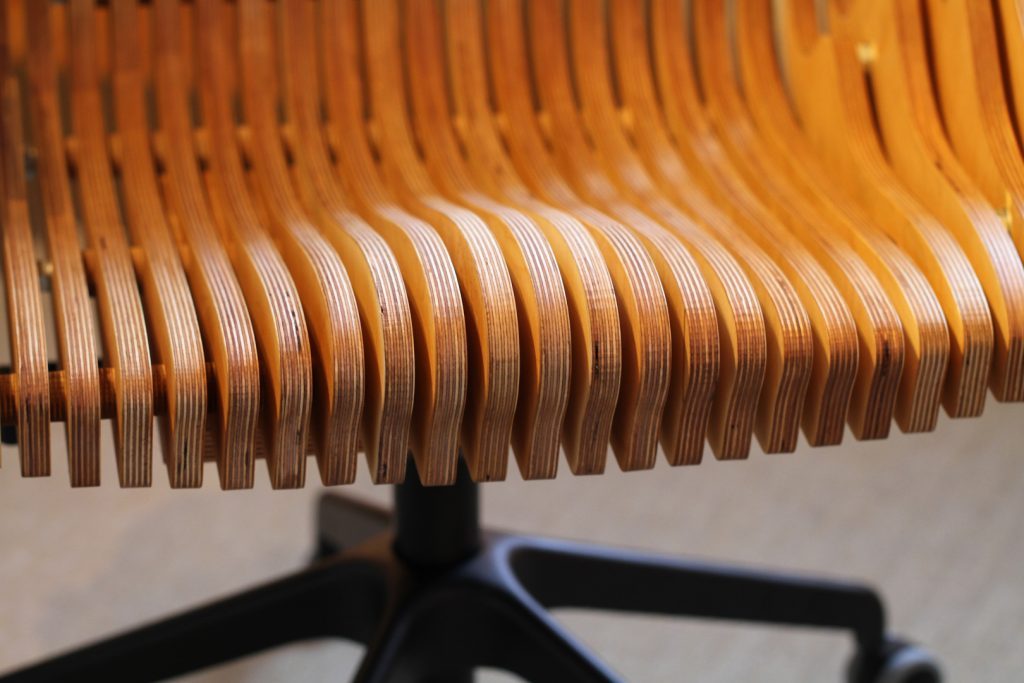
Here are some impressions from the assembly.