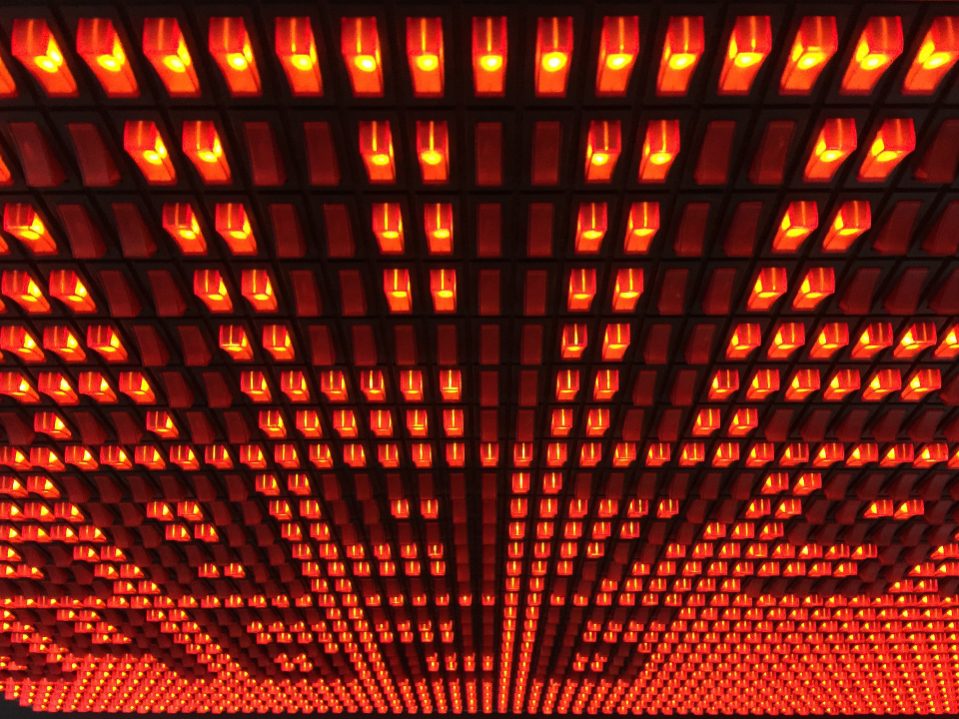
Some years ago I saw such a light art installation in the Cross Club in Prague and wanted to rebuild such a panel already at that time.
Unfortunately the switch prices made me mad and I immediately rejected the project again.
Now, about two years later, the project has become affordable for me by letting produce the counter in China. I have reported about it here.
Planning
What size should the panel be? I have been technically limited by two factors: The width of the pass-through of my car and the length of the travel surface of my CNC milling machine. Thus the dimension was decided quite fast: 900mm * 1300mm.
CAD construction
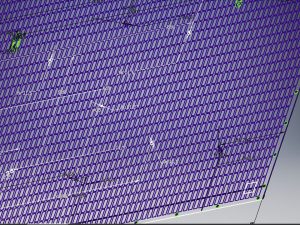
The CAD design for the switch panel was created within a few minutes. The principle is super simple. Many, many holes! However, I had to mill a few specimens in various thicknesses from screen printing plates to get a feel for how unbreakable the grid will be. Finally I decided for a distance of about 4mm between the switches and a plate thickness of 12mm.
Milling
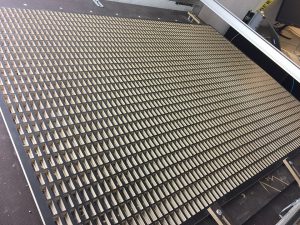
The milling of the perforated grid cost me about 15 hours of work over 5 days. Never before have I milled such a long project in one piece. It is very risky to let the milling machine run in one piece for such a long time. The dangerous thing about it is that the milling machine should not have lost its coordinate system during this time. A power failure, program crash or step loss would have put the entire project at risk. If the zero point had been shifted only minimally, all future holes would have been shifted as well. This would have been immediately apparent with this pattern.
A further 8 working hours were spent on the milling machine for a continuous frame and the back plate on which the panel can now either be hung on the panel or set up on a table with a frame.
Push in the switches
Pressing the switches into the grid was a work step that I completely overlooked during planning. I thought it would be done quickly. But the switches don’t have a straight surface to push in and the tricky thing is that the switches have to be pushed in exactly straight, otherwise they cant in the wood. Power, feeling and a lot of patience!
But after only a few switches I already had a bladder on my finger.
This has led me to construct an impression aid and print it with the 3D printer. This little tool made my work much more comfortable. Nevertheless, I was busy for three days with pressing the switches.

Soldering
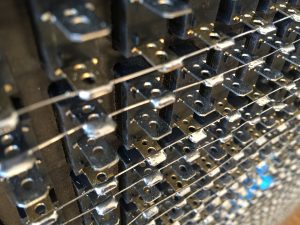
The soldering of the switches was almost a meditative task. 4266 solder points, 80m silver wire, 120g tin solder and 6 hours of work distributed over four evenings.
The first commissioning
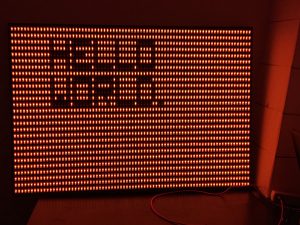
What’s the first thing you “switch”? Well. I would have had enough time to think about that. Programming starts with a small “Hello World”. Why not also here? Here you go:
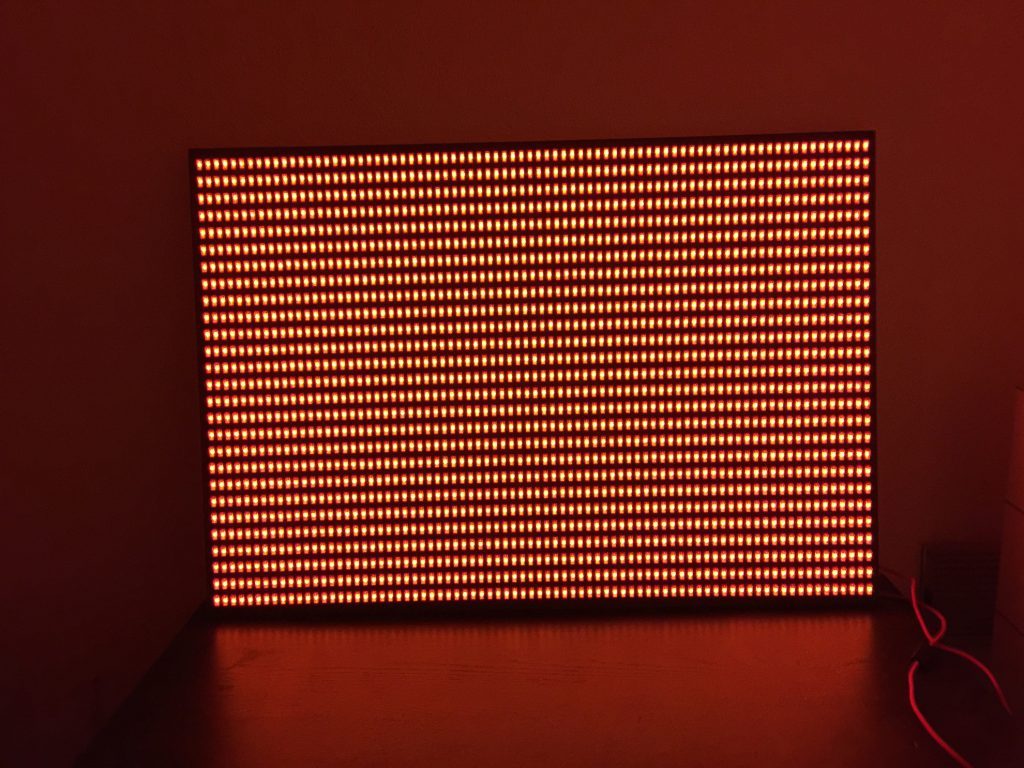
Der erste Test 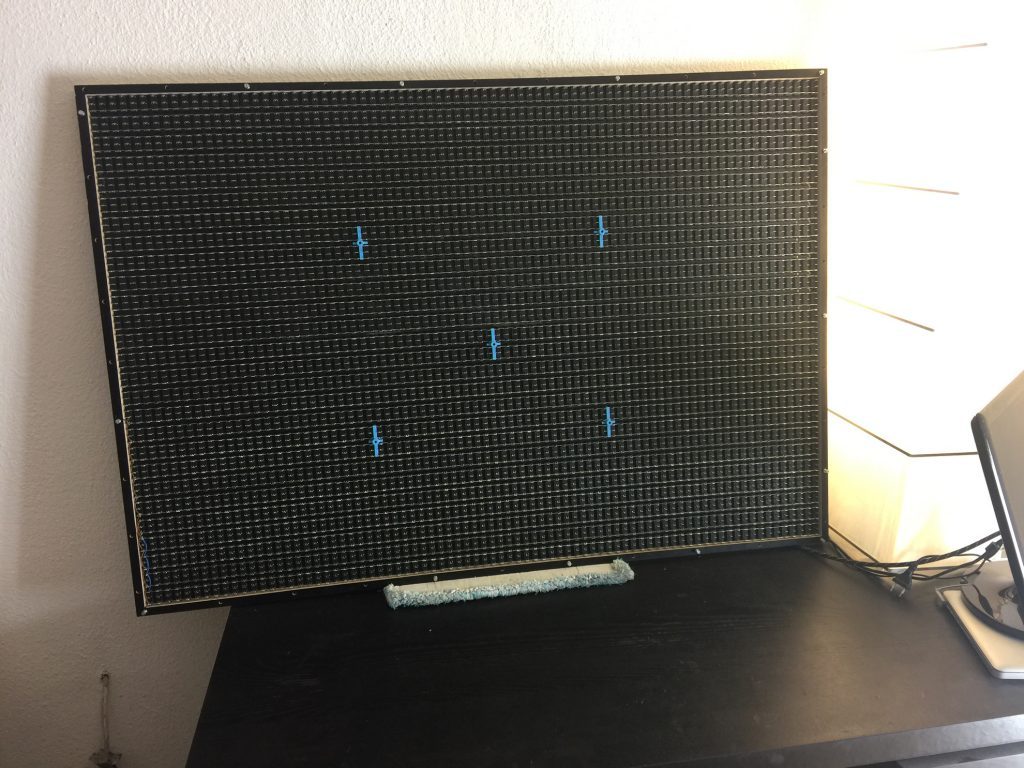
Die Wippschalterwand von hinten 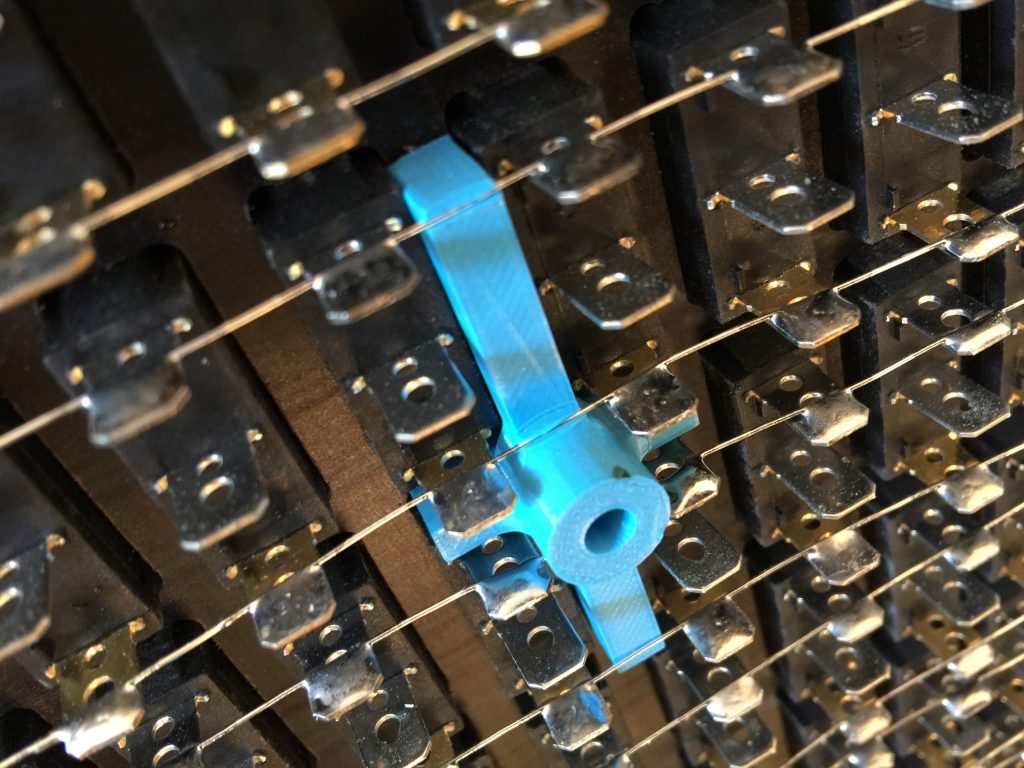
Ein eingelöteter Abstandhalter 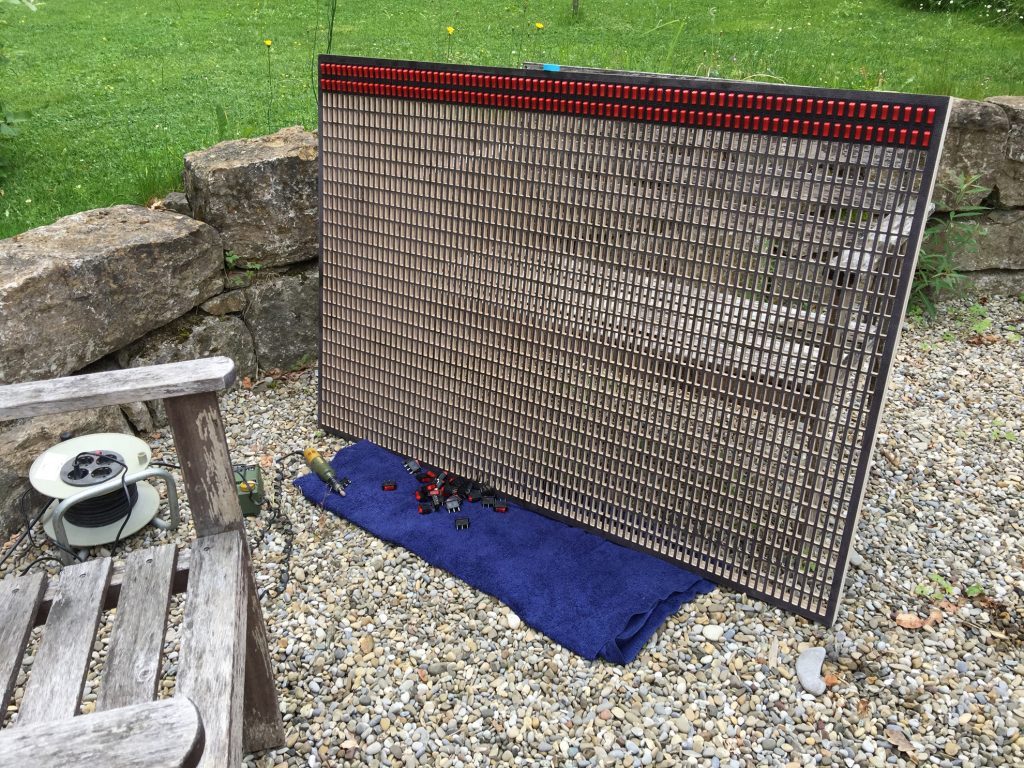
Eindrücken der Schalter 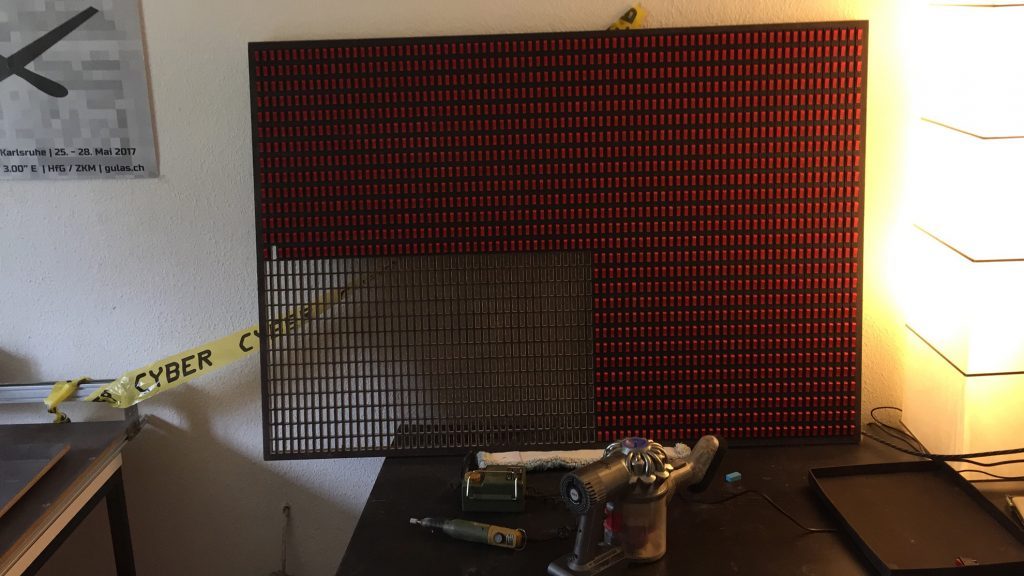
Eindrücken der Schalter 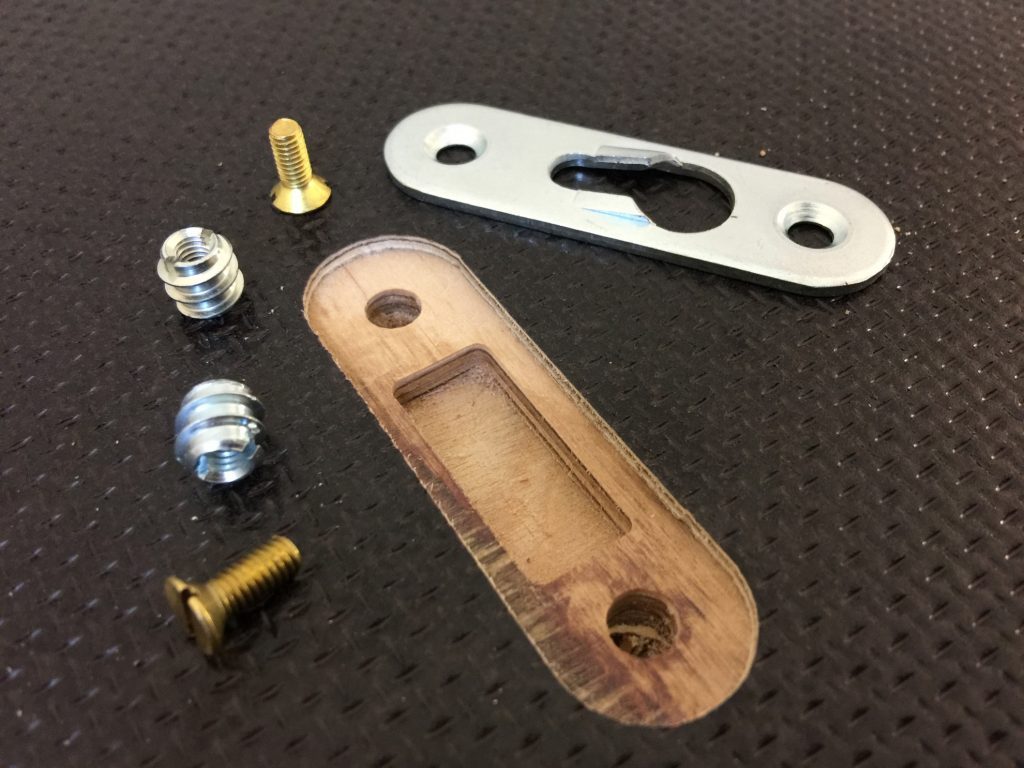
Einer der Wandaufhänger 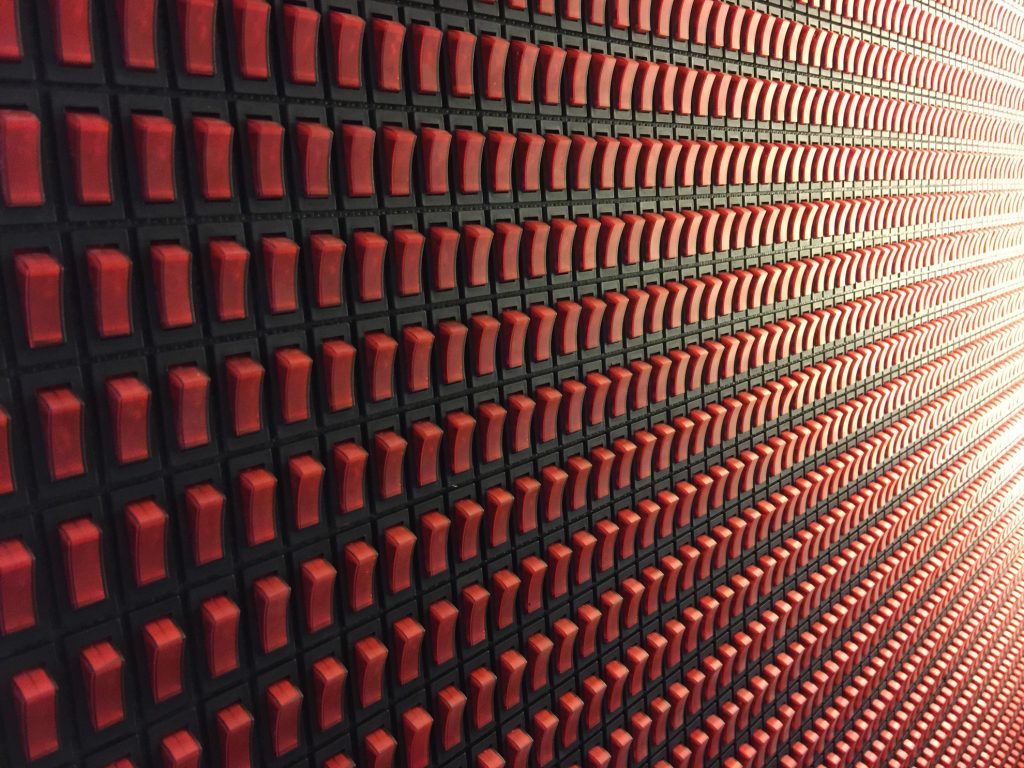
Eingedrückte Schalter 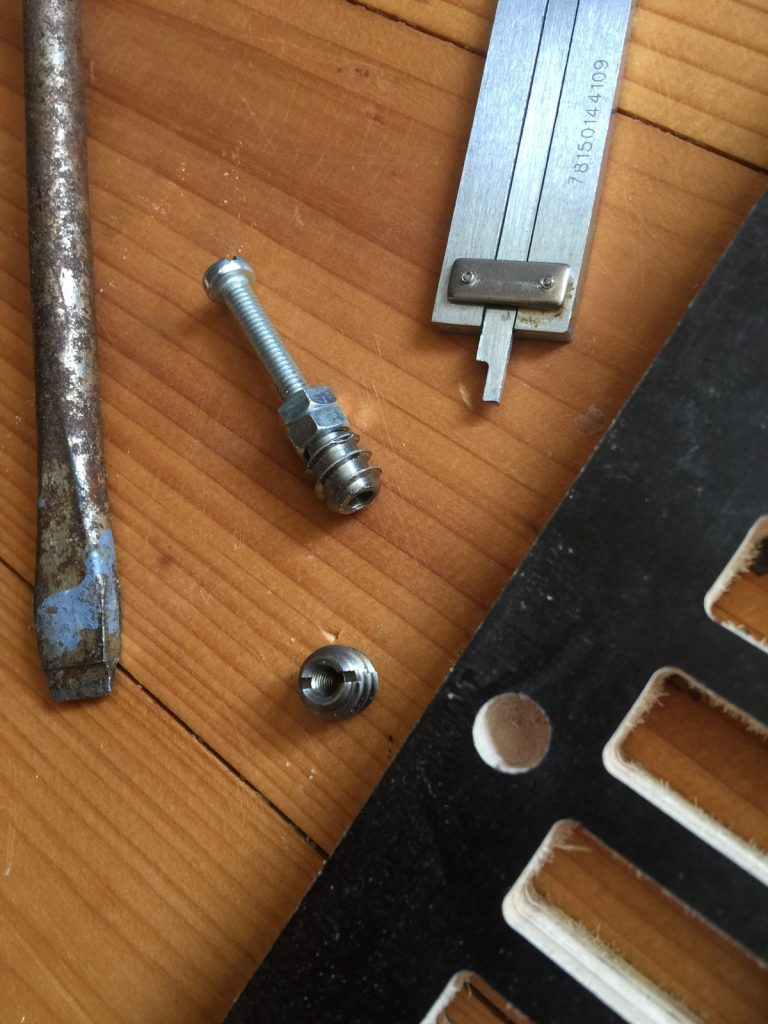
Einschraubmuttern zur Befestigung 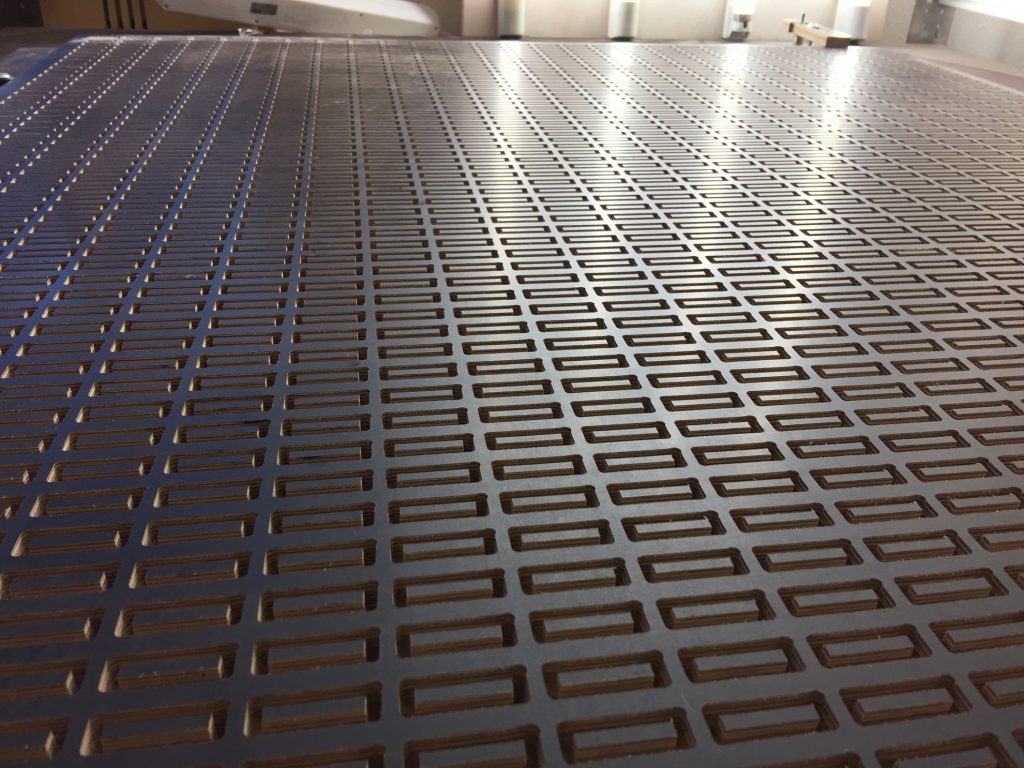
Gefräste Lochplatte 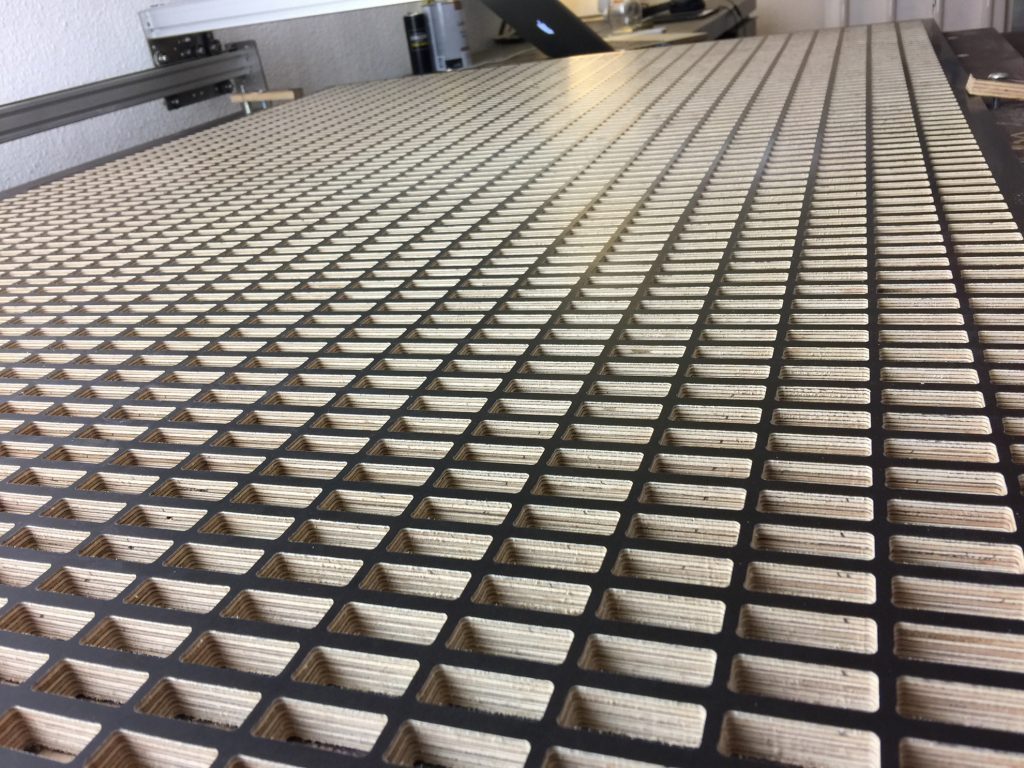
Gefräste Lochplatte 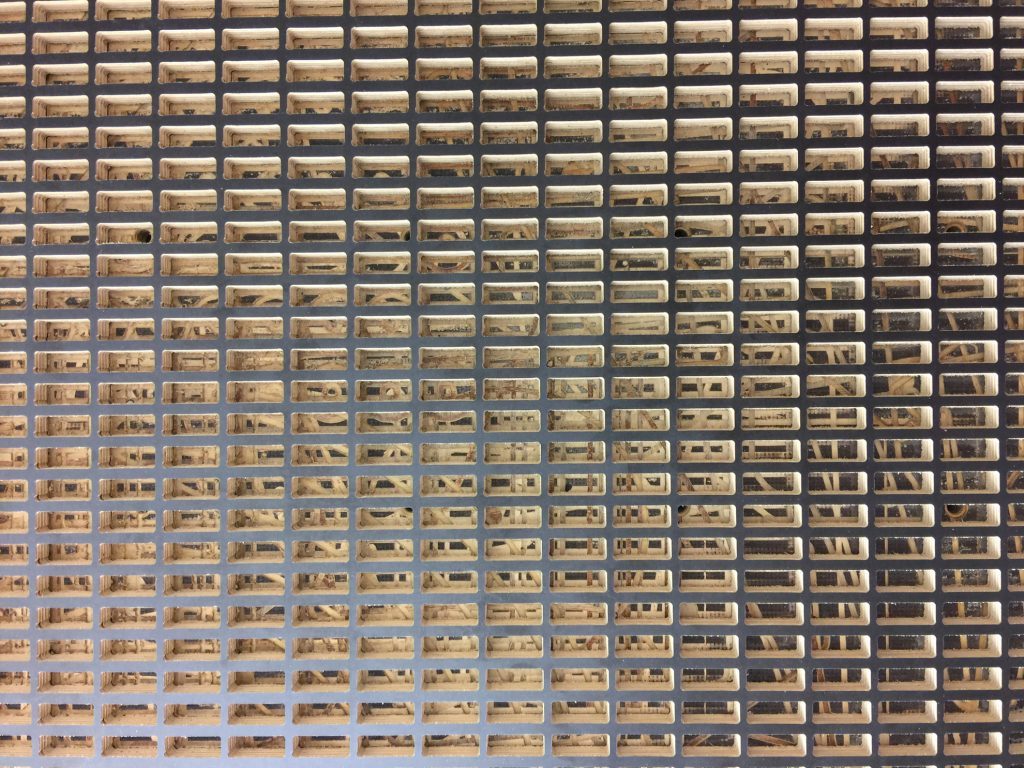
Gefräste Lochplatte 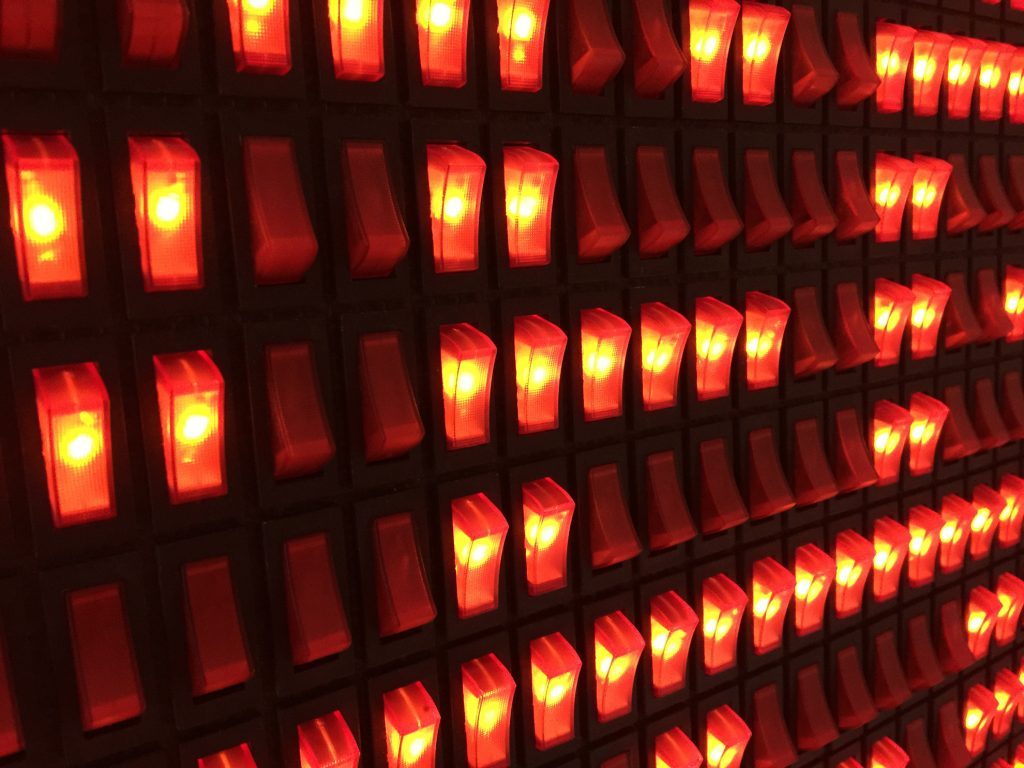
Wippschalterwand3 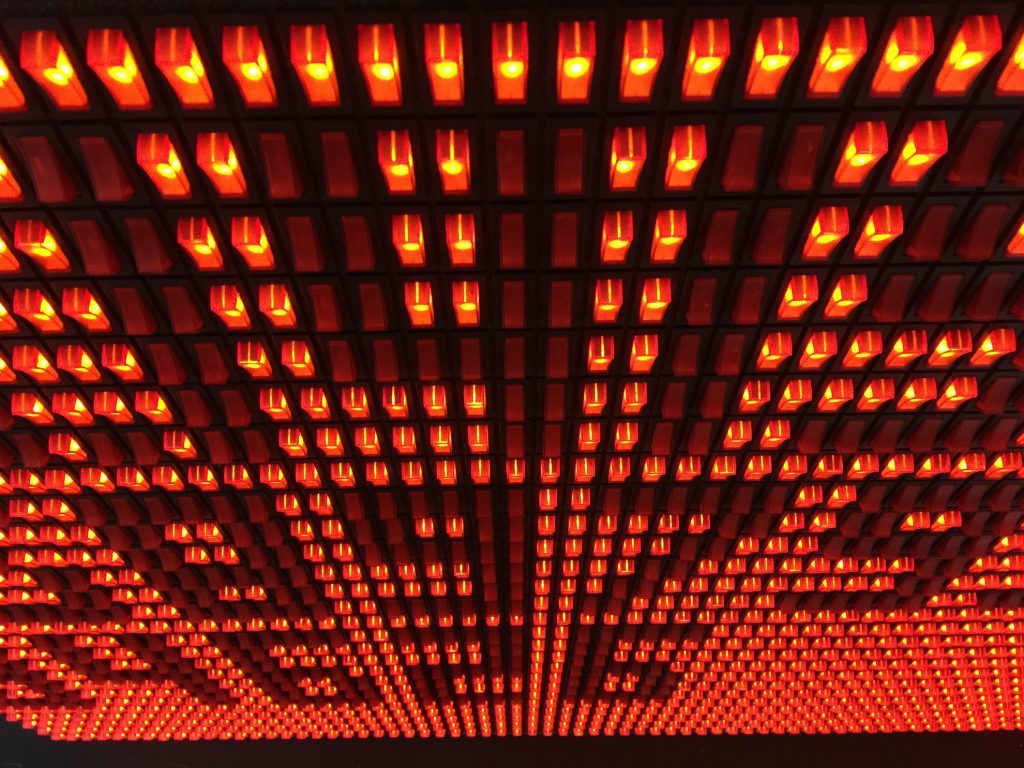
Wippschalterwand3 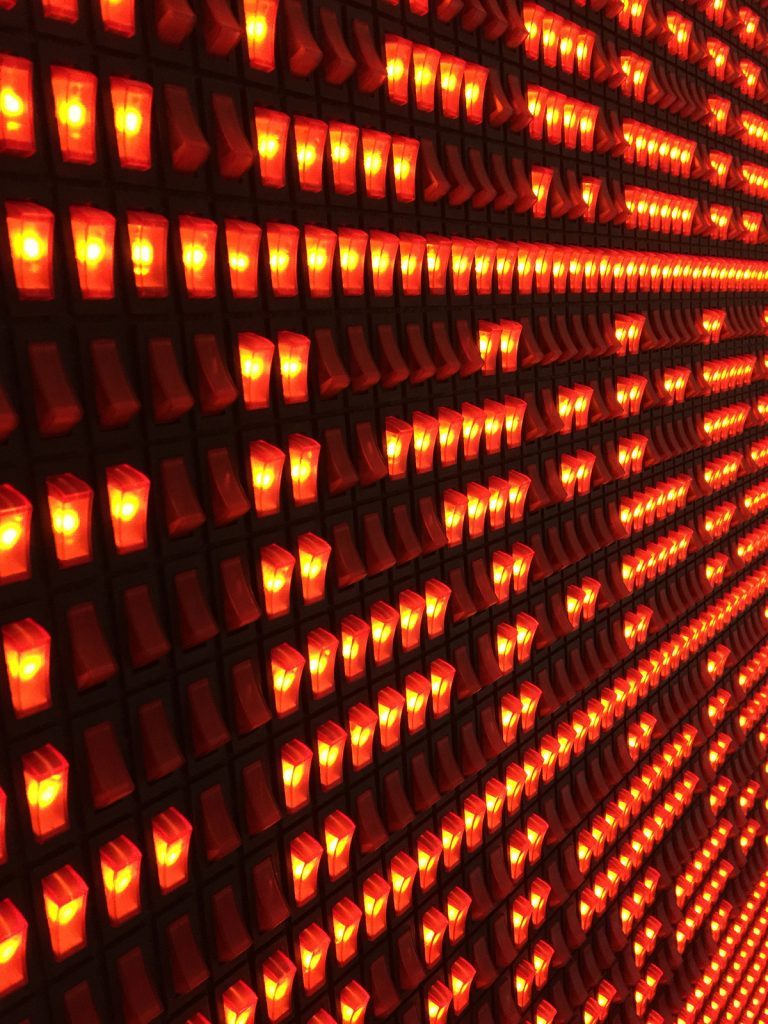
Wippschalterwand3
How much was the fun?
Working hours! I have only roughly written down the hours and thus come to at least 35 working hours.
The switches, the shipping, the customs, the taxes, the wood, the electricity of the milling machine, the silver wire, the solder, the screws, the textile cable and other small parts e.g. from the 3-D printer …. I estimate roughly at 600€ -700€ material costs.
What’s the next step?
I still need a stand so that the rocker switch panel can also stand freely on a table without running the risk of falling over. This should happen in a few hours.
First of all I want to keep the panel at home and see what friends and guests do with it.
But I would also like to exhibit the panel as a light art installation and make it accessible to more people. A place in a makerspace nearby or in an exhibition is planned. Leave me a comment if you think of something where the panel could do well.
I would also like to take the panel with me to the next Chaos Communications Congress. I’m sure it would do well with the assemblies.
An illustrated gallery about the construction of the panel I have summarized here: http://imgur.com/a/pgJrA
The rocker switch panel has its own Twitter account: @Wippschalter
Update: 05.05.2018
The rocker switch panel was exhibited at the Singoldsand Festival 2017
The rocker switch panel was guest at the 2nd Aulendorfer Maker Slam: Link
Also at the Wikidata Workshop at Versschwörhaus in Ulm in 2018 it was shown: Link
